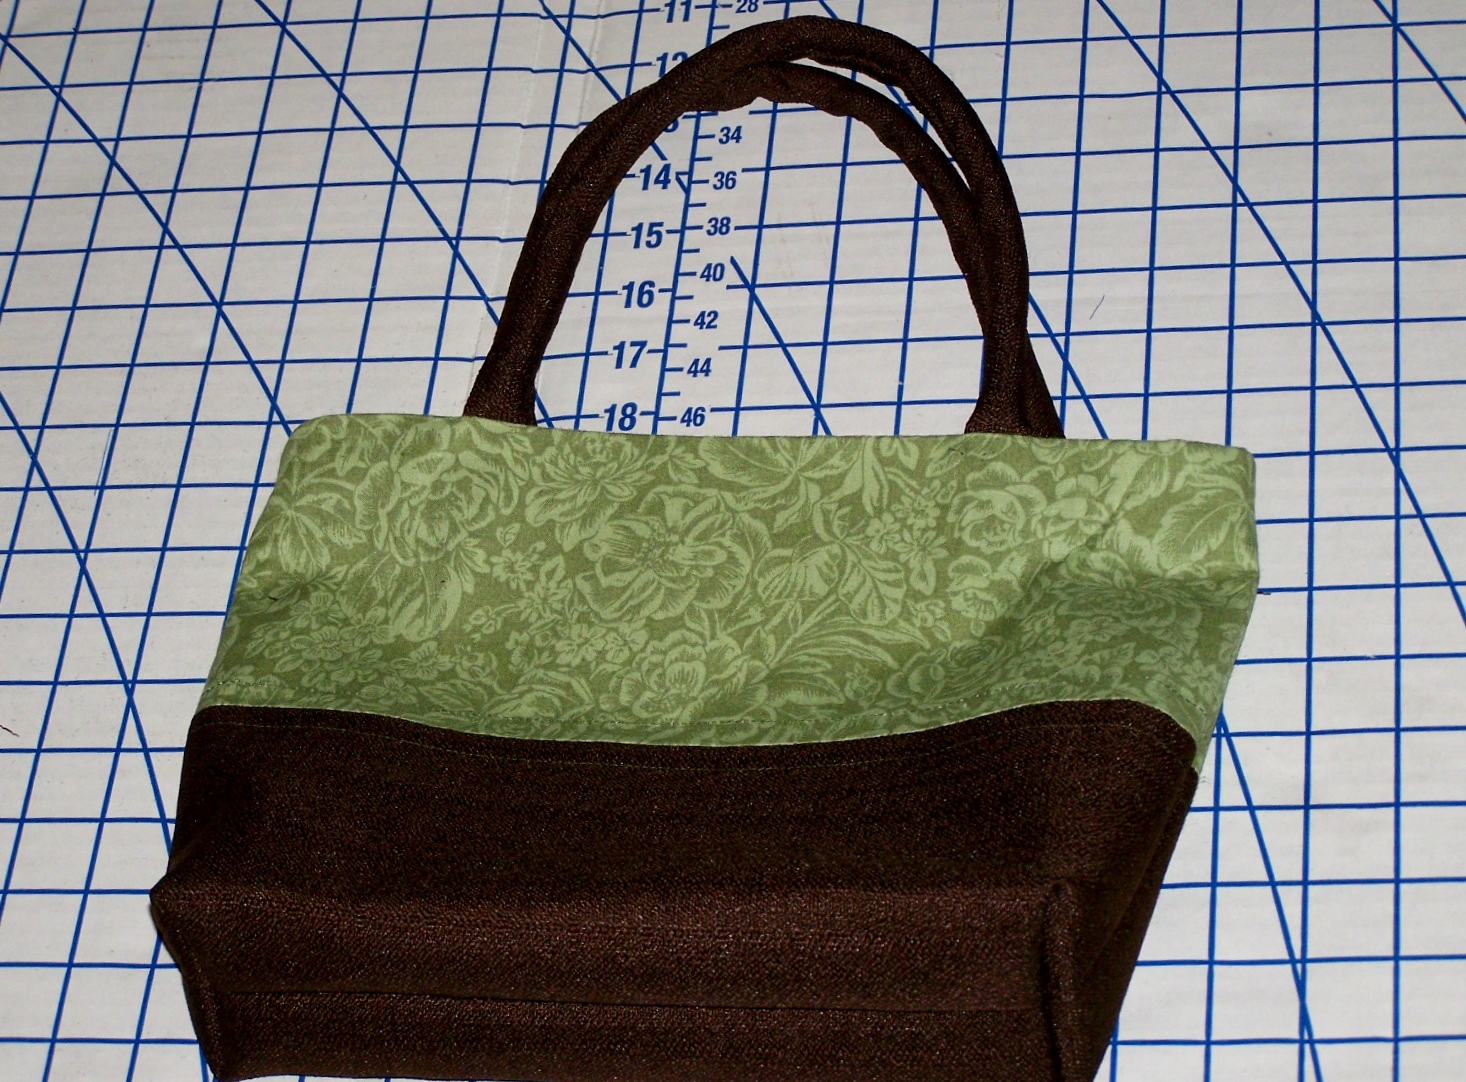
I love Green!! You gotta love this purse with recessed zipper and rope handle. It reminds me of the Andes Creme de Menthe candy. I think all of the purse are easy to make but, seriously this one only took me 2 1/2 hours. That’s including the changes to the design and purse handle challenges. Since this was the first time I attempted to make rope handles, I had a bit of a do over. But enough about me….Let’s get to the tutorial!
Tutorial
 Materials Needed:
- Main Fabric Color (Green)
- Secondary Fabric Color (brown)
- Fabric Lining
- Pellon Interfacing (Medium weight)
- 12 inch Zipper
- Rope 36 inches long (2 each)
- Thin cardboard 3 inch width x 9 inch length
Step 1:
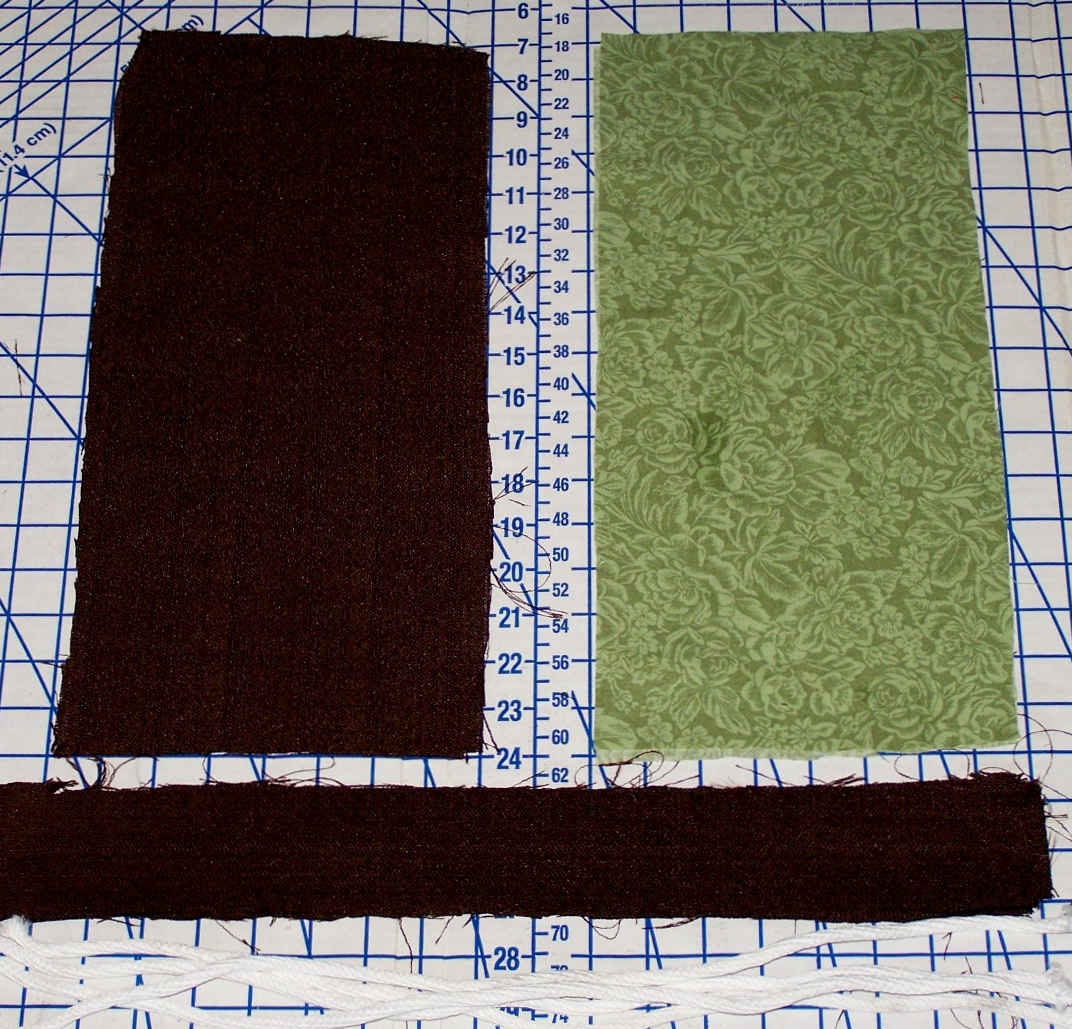
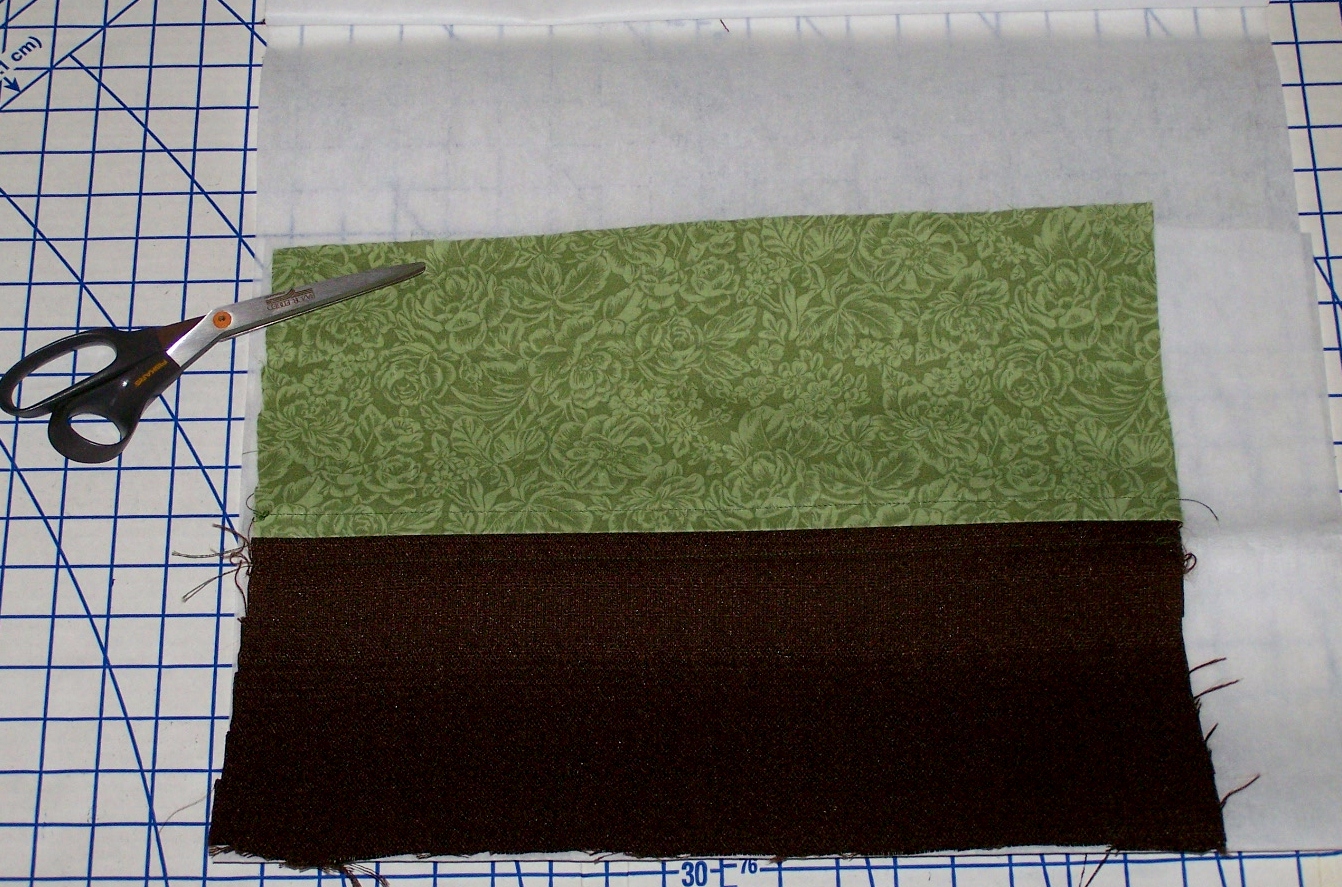
Cut out the front and back panels and strap handle: The main fabric is 8 inches width x 13 inches length. The brown section is 8 inches width x 13 inches length, and the two handle pieces are 3 inches width by 18 inches length.
Step 2:
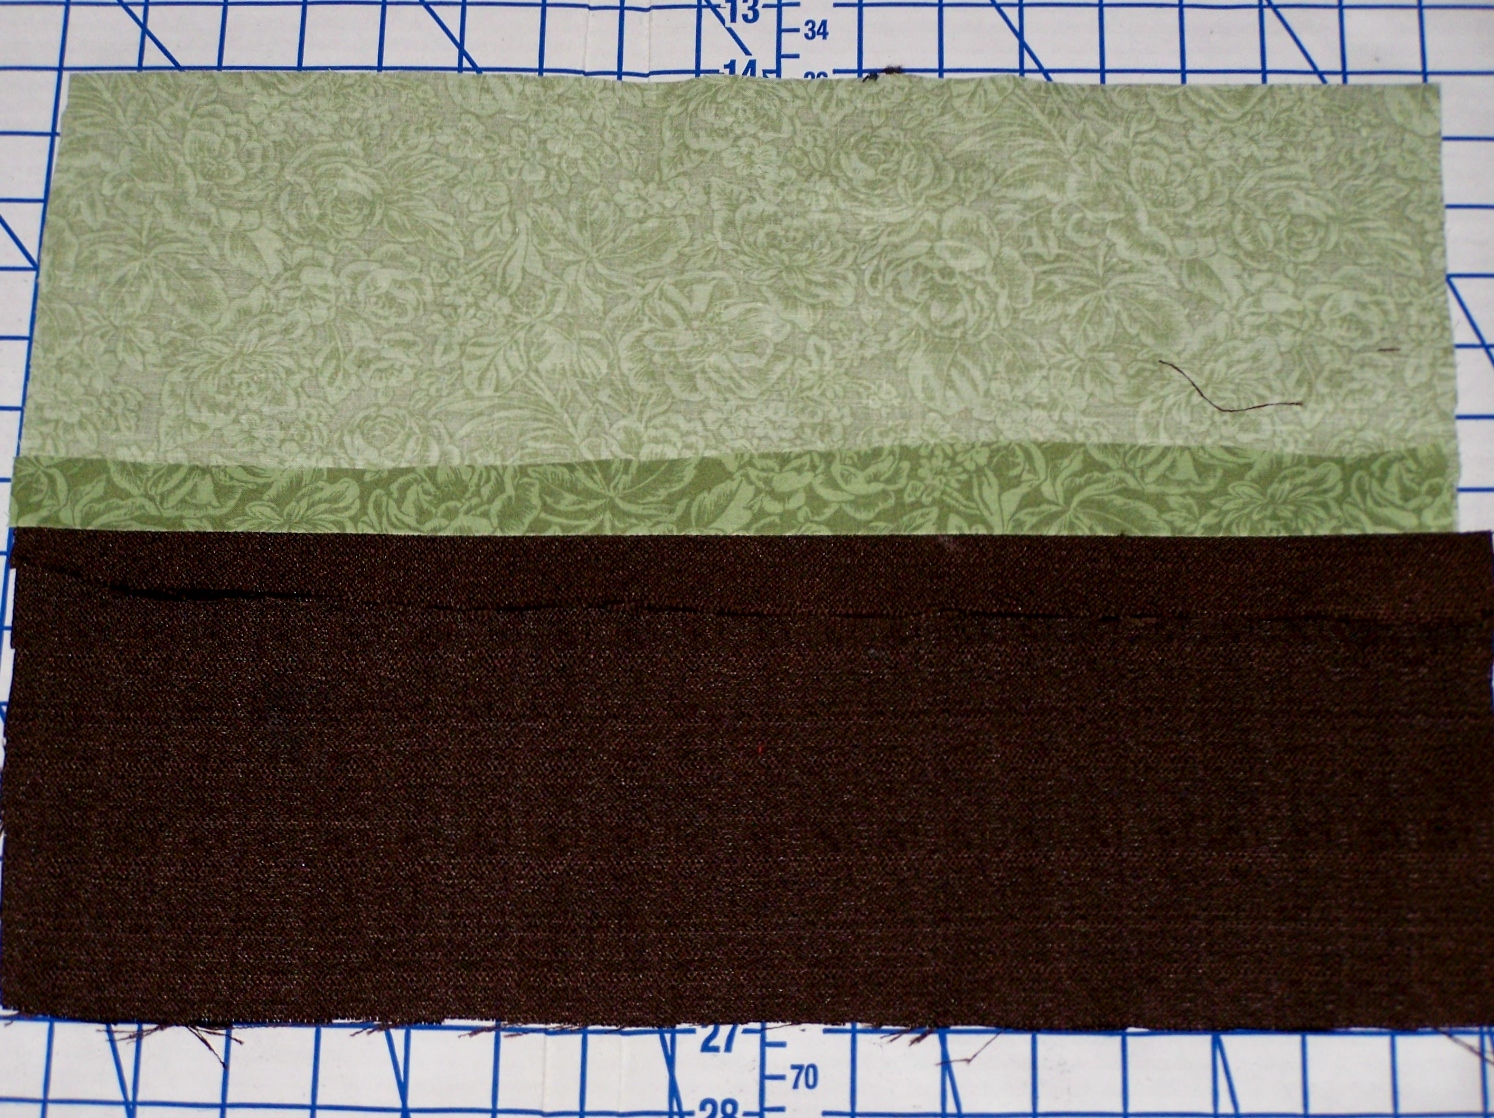
Attach the front panel section together by sewing an 1 inch seam and iron the seam open. Repeat method on the back panel.
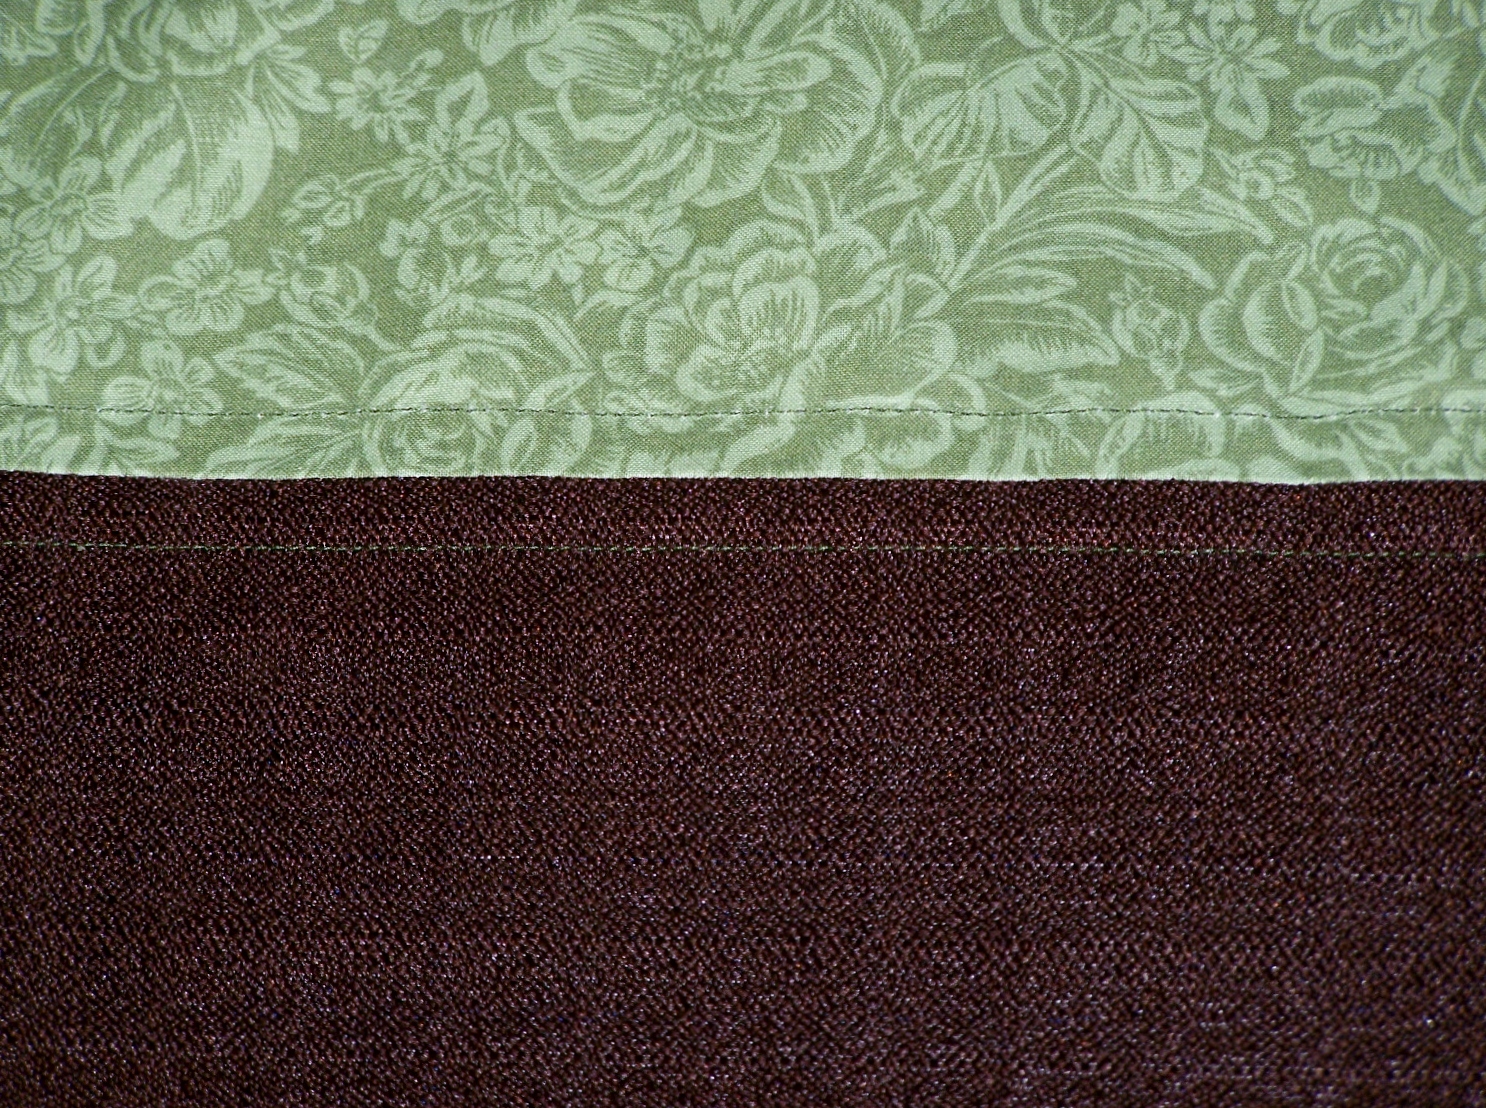
Sew a seam on each fold. Use your presser foot and center seam as a guide to stitch a seam below and above the original stitch.
Cut out the interfacing for the full front and back panels. Iron on the interfacing to each panel.
Step 3:
Fold over the top edge of the front and back panel 1 inch and iron flat. This will allow the fold to stay in place. Pin and center your 12 inch zipper to allow a 1/2 inch seam allowance on each side of the purse. Make sure the zipper is on the raw edge of the fold of your front panel and sew in place. Pin the back panel to the zipper. Sew the zipper in place using the same method. Open the folded edges, pin the panels together with right sides together. Sew the sides and bottom together using a 1/2 inch seam allowance.

Step 4:
Cut a 2 inch x 2 inch square on each side of the panels. Open the purse and match the cut ends to create a box shape.
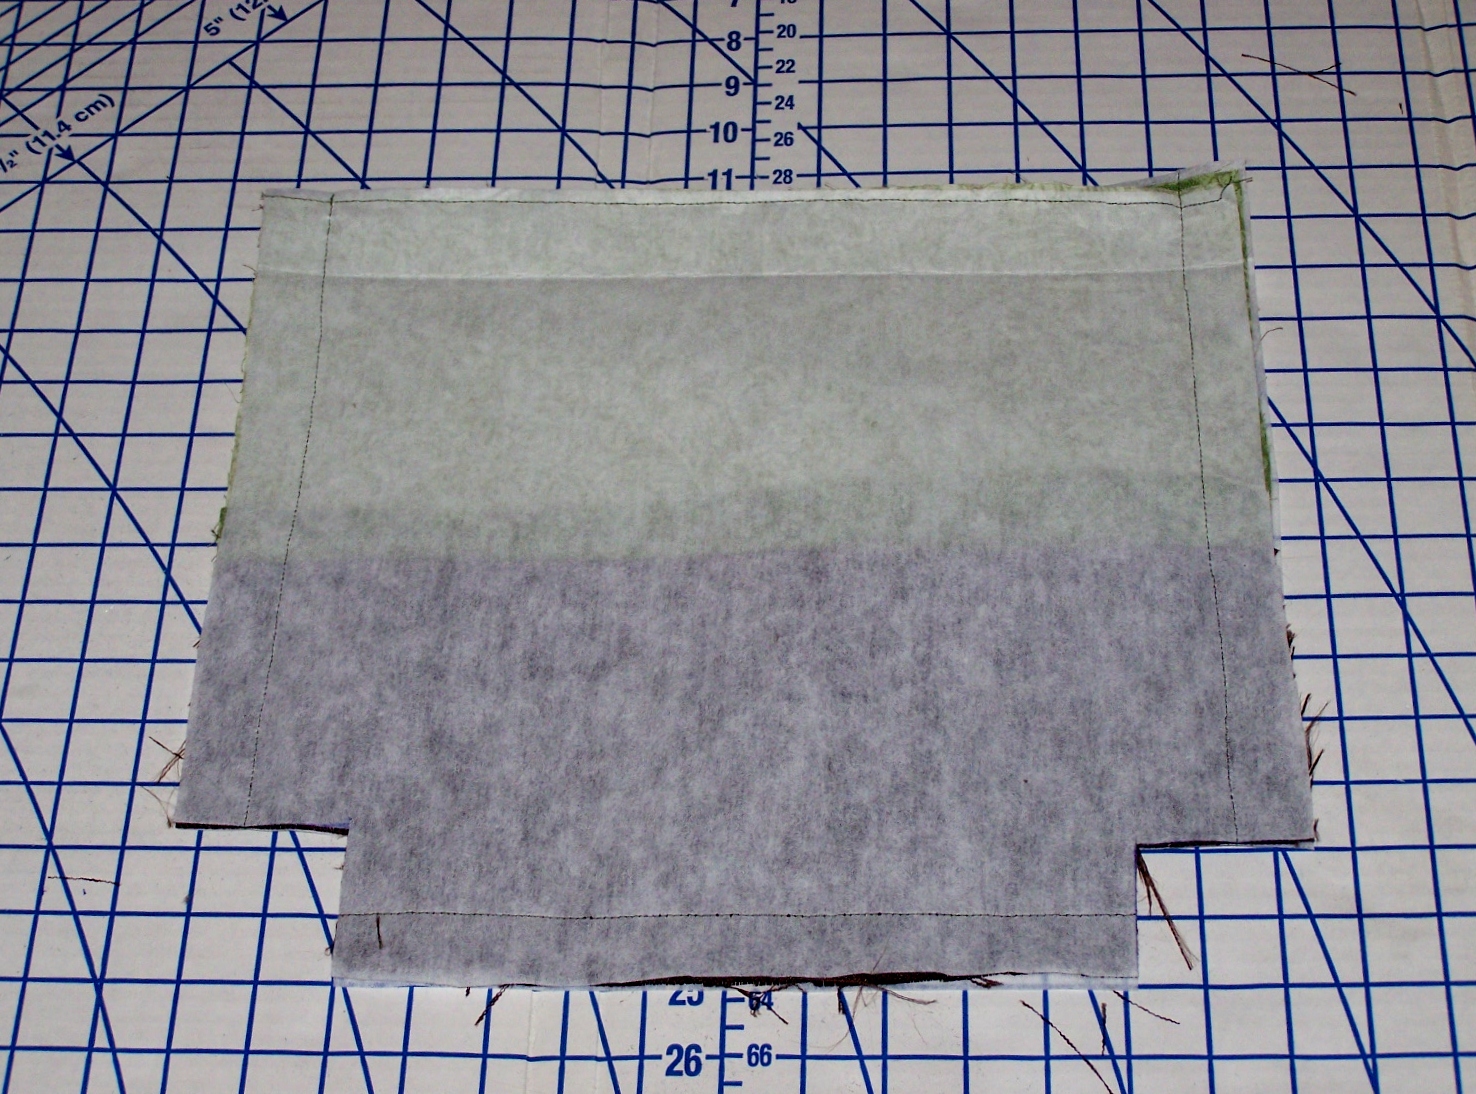
To reduce bulk edges, make sure that the fabric seams are laying open and flat. Sew a straight stitch across to close the opening. I usually double stitch to reinforce.

Step 5:
Take the one of the pieces of fabric that will be used for the handle and wrap around the rope. Pin the edges together. Sew/double stitch a seam along side of the rope. Be careful to not catch the rope in your stitches. It’s best to use a zipper foot if you have one, which will allow you to sew as close as possible to the rope. When you come to the end of the fabric sew a stitch directly across the rope. (See picture below.) And repeat the process to make your second handle.


Trim the fabric as close to your stitches without cutting them. Starting at the closed end of the rope slowly inch the fabric over the remaining section of the rope to cover. Once you are able to slide the fabric over your end seam you can begin to pull the ropes short end to help you guide the fabric over itself.
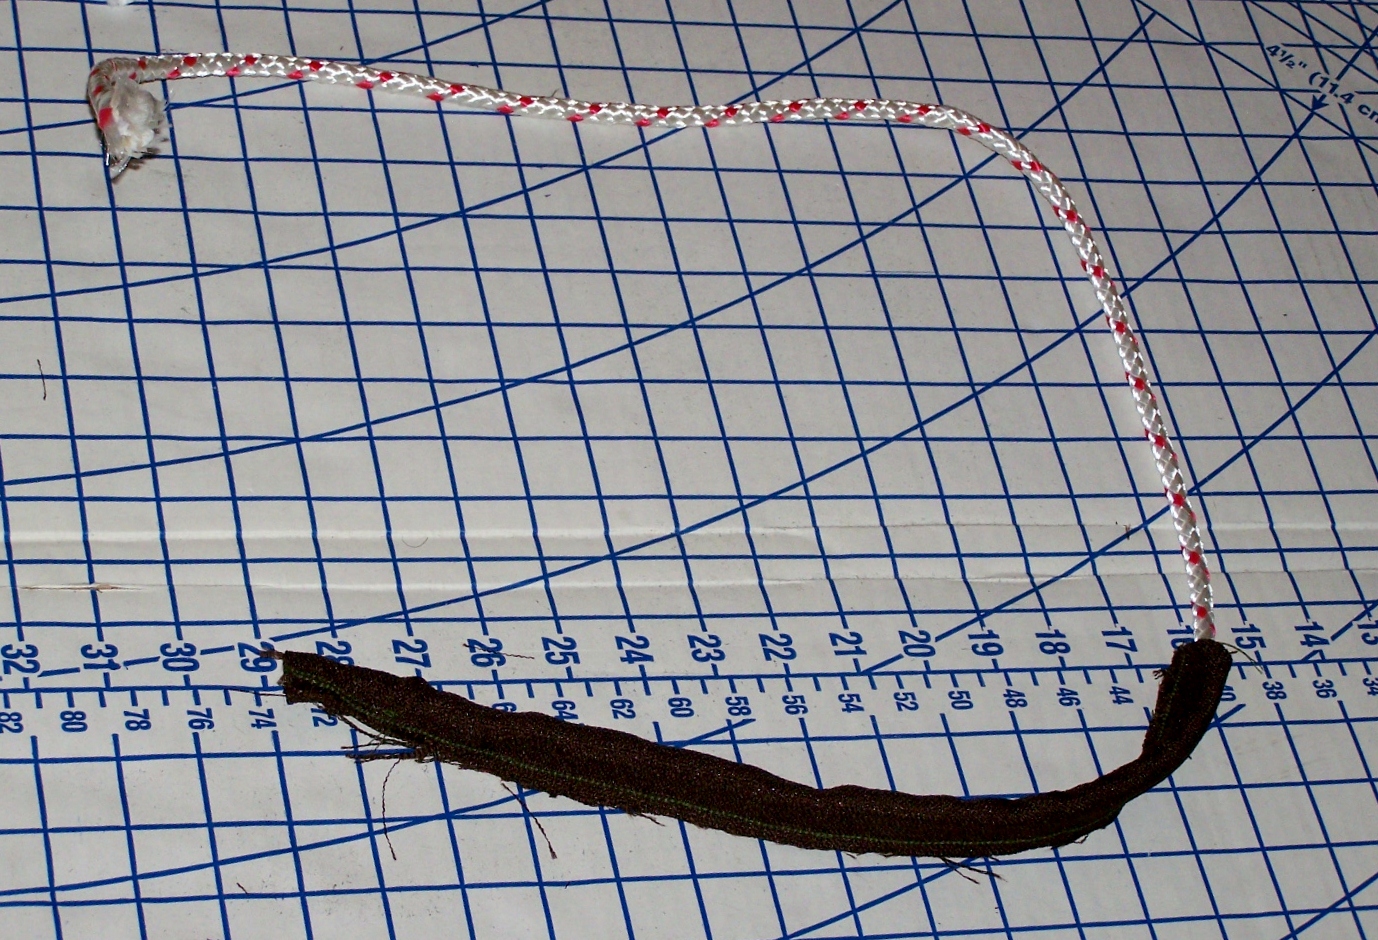
This a view of the original finished edge that was sewn. Cut the rope close to the closed edge and sew the opposite end of the fabric handles open end straight across the rope. Trim the rope end. Don’t worry we will hide the raw rope ends.

Step 6:
Cut off one inch of the top of the purse or directly on the fold. Turn the body of the purse to the right side.

Measure and pin the handles 3 inches from each side seam to the front and back panels. Pin the zipper back in place matching the raw ends, and sew around the open purse. Double stitch each rope end.

Step 7:
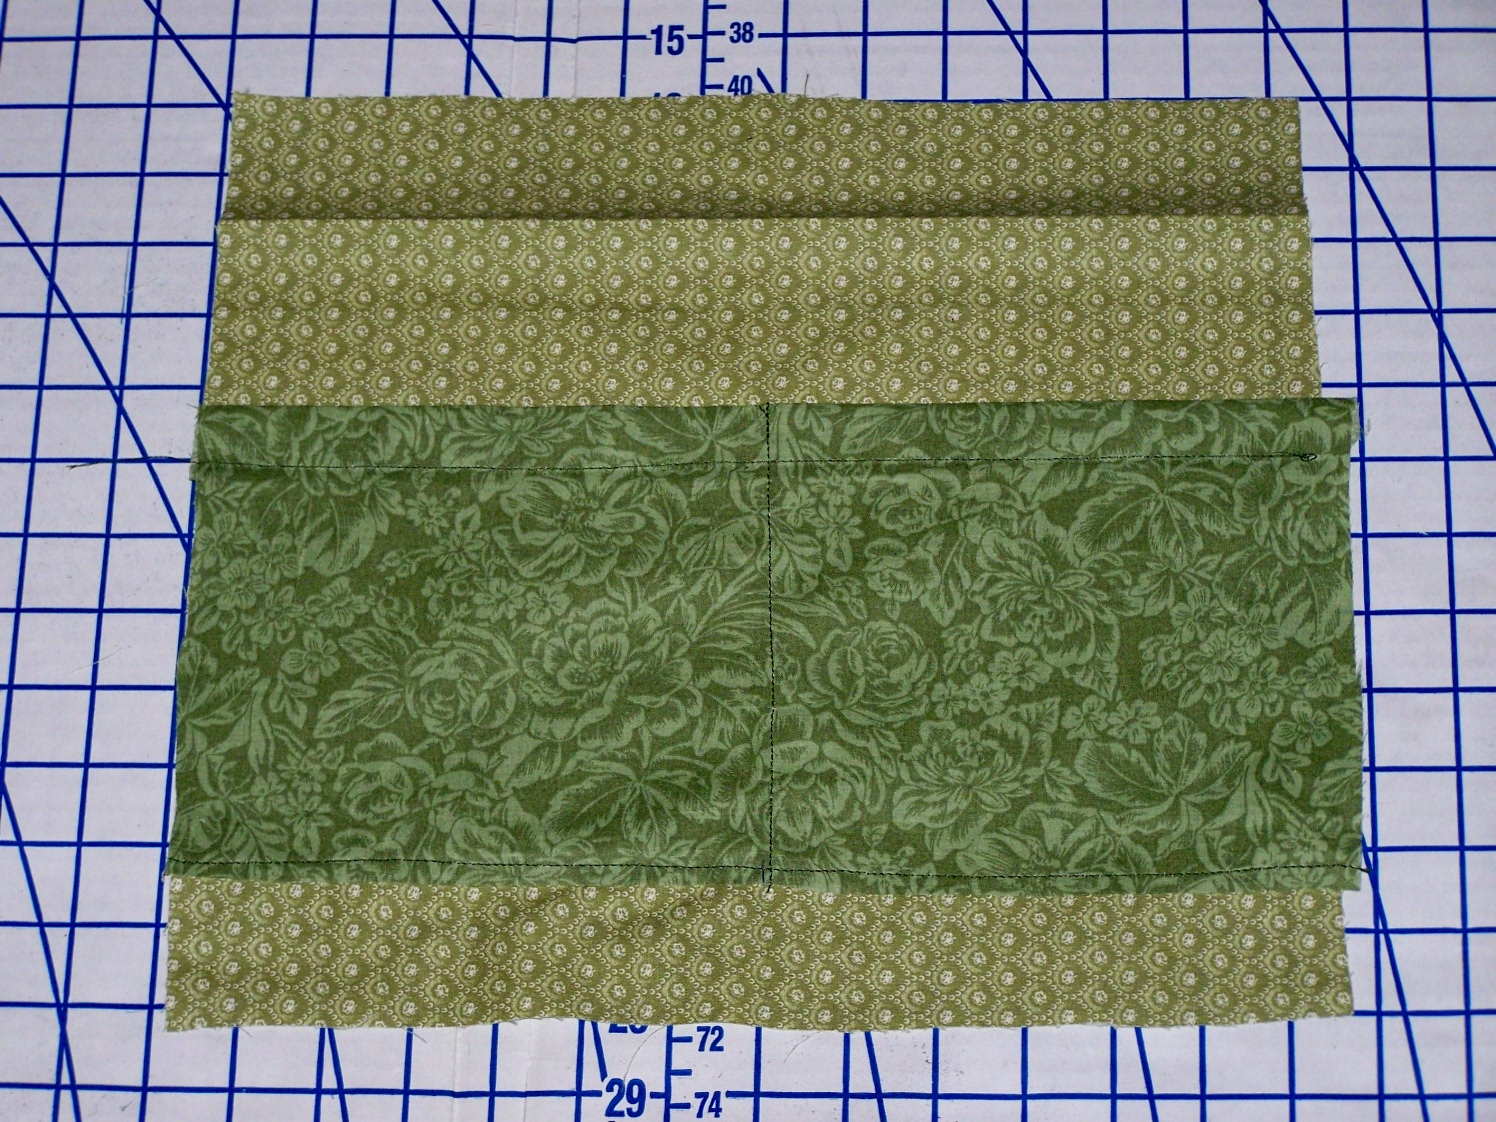
Cut out the lining 12 inches width x 12 inches length. Cut the pocket 9 inches length x 12 inches width.

Place the pocket 3 inches from the bottom of the back panel. Sew the pocket onto the back panel down the center of the pocket, and back-stitch at the top of the pocket seam. Next sew the bottom of the pocket on top of you bottom fold.
Sew the front and back fabric lining together with the right sides together. This will close your pocket. Sew the sides and bottom closed. Fold over the top of the lining 1 inch towards the inside of the lining and iron.

Step 8:
Turn the purse inside out and place the cardboard in place, and slide the lining over the purse and pin in place on top of the zipper. Make sure you included the cardboard in between the lining and the purse. sew the lining 1/4 inch near the teeth of the zipper. Take care not to sew over the metal ends of the zipper.

You’ve completed the Creme de Menthe Purse. Enjoy your new purse.

Stay tuned there’s more to come from La Cartera!
Related articles
- Paisley Park Purse Tutorial (lcartera.wordpress.com)
- Tangerine Foldover Clutch Tutorial (lcartera.wordpress.com)
- Creme de Menthe Cookie Dough Cheesecake Brownies (cantstayoutofthekitchen.com)
- The matter of seam allownace (privaterunway.net)


It`s great that you matched the tutorial to St. Pat`s Day!
LikeLike
Thank You! That was my thought exactly..Hope you enjoyed St. Patrick’s Day!
LikeLike
It was a good day 🙂
LikeLike