
Let your imagination run free, and try this purse tutorial. This super easy tutorial is fun. Make different looks from this one tutorial. I also reveal my secret design template too. Here’s a different look before we begin the tutorial .
 Materials Needed:
- 12 inch Heavy duty purse zipper
- Oval wooden purse handles
- Main fabric (Black)
- Secondary fabric (Printed)
- Pellon interfacing medium weight
- 4 fabric lining cutouts
- placemat (12×18) used as template
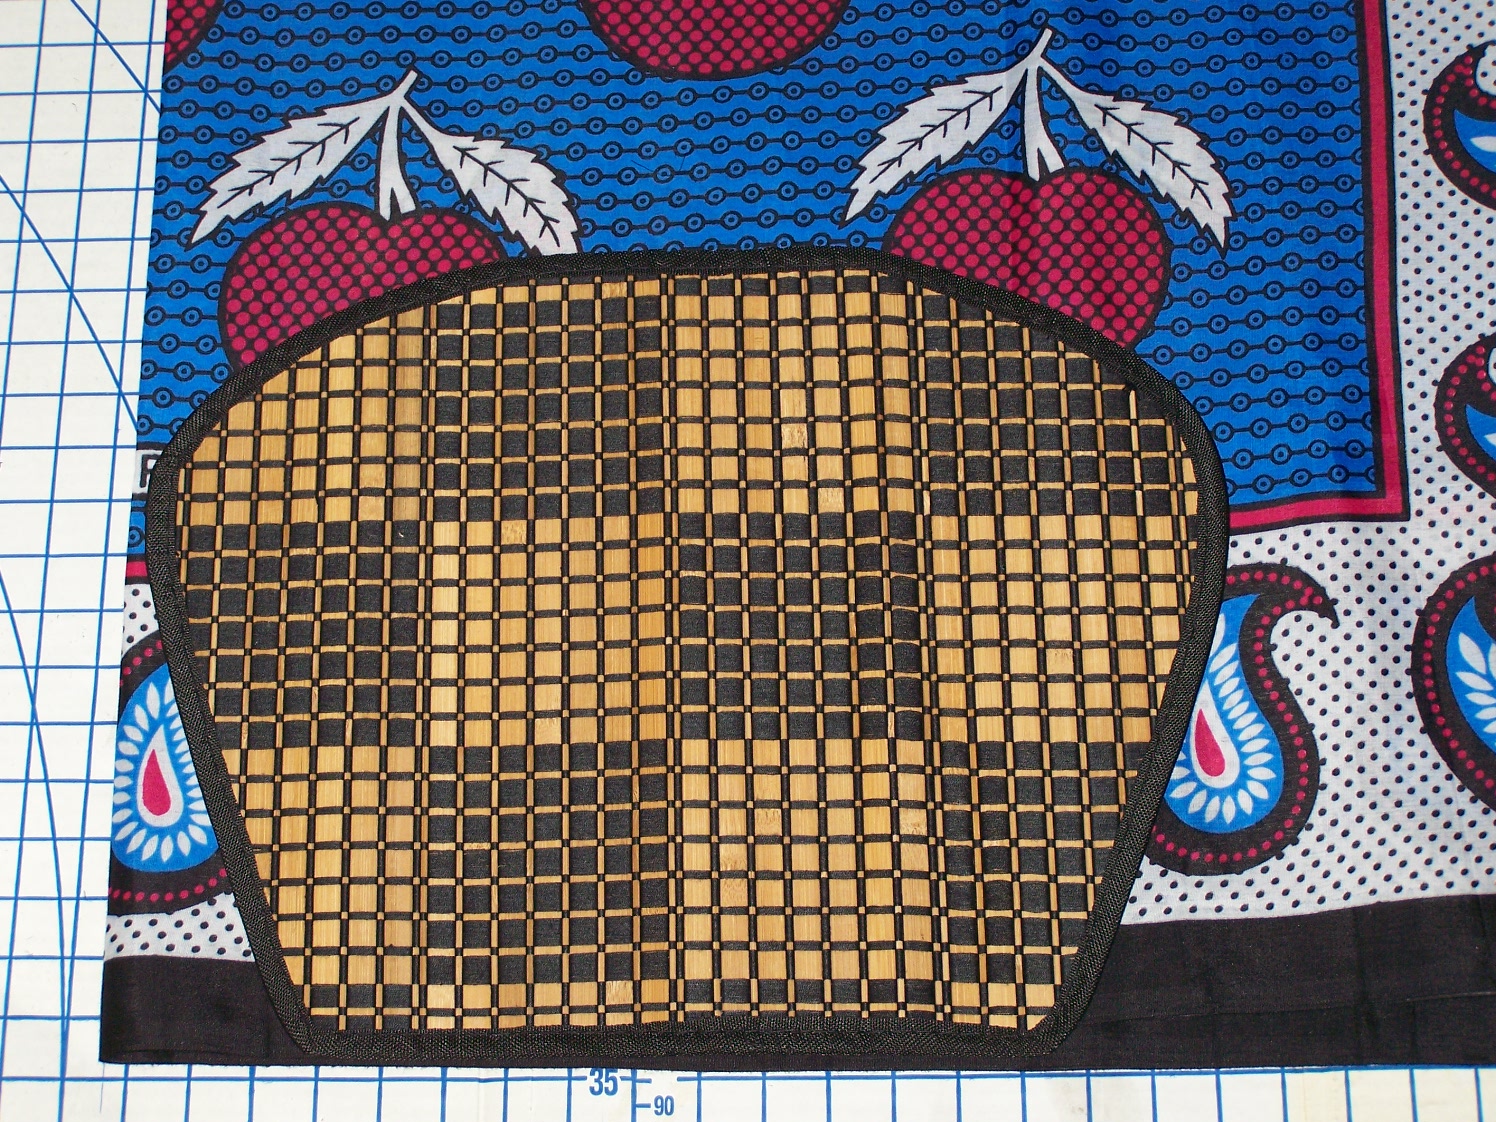
Step 1:
Take a look at my secret weapon. This placemat is used as my design template. I found this one at my local Bed Bath and Beyond store for $1. Use this template to cut out your main and secondary fabric, fabric lining and interfacing.
Step 2:
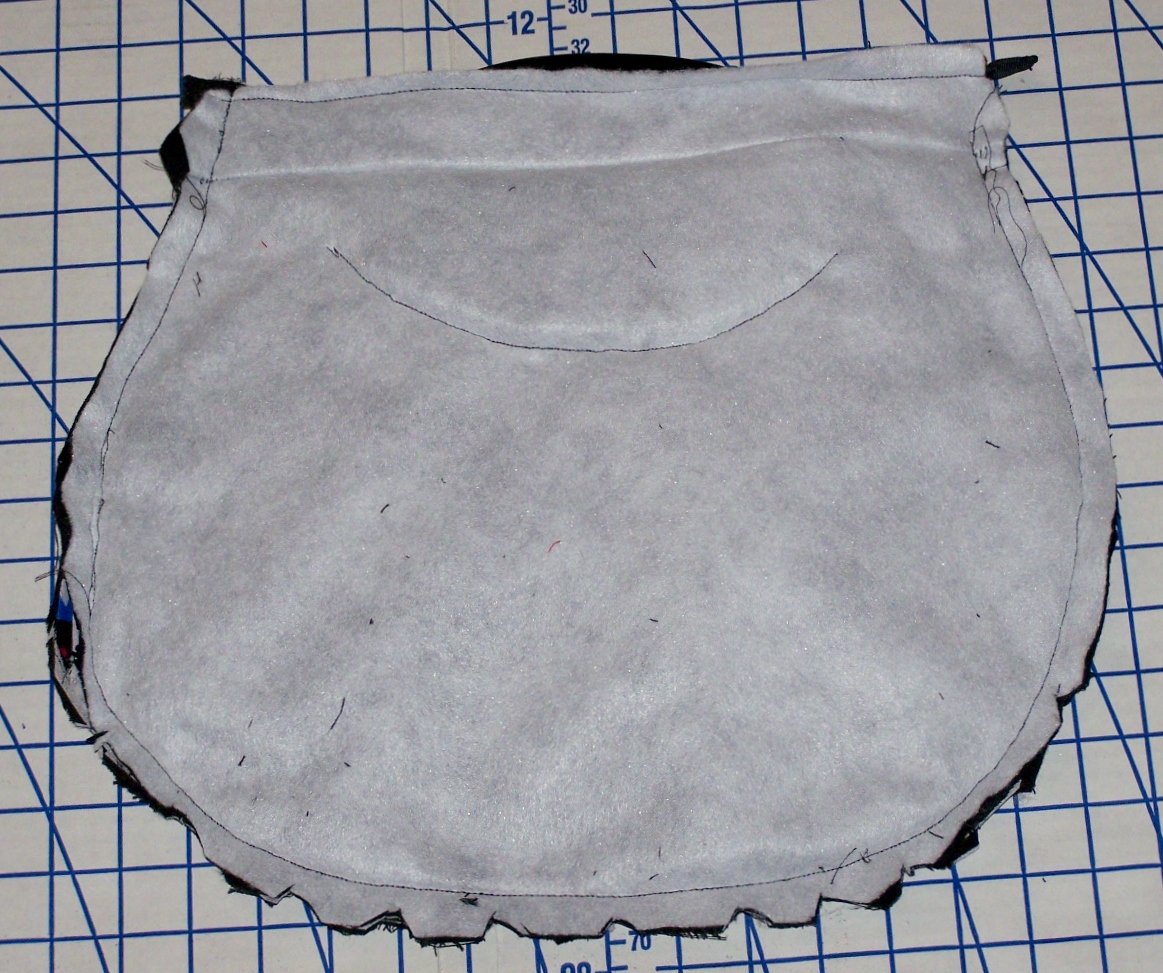
Iron the fusible interfacing or non fusible interfacing (use Dritz Spray Adhesive) to attach to the main fabric panels.
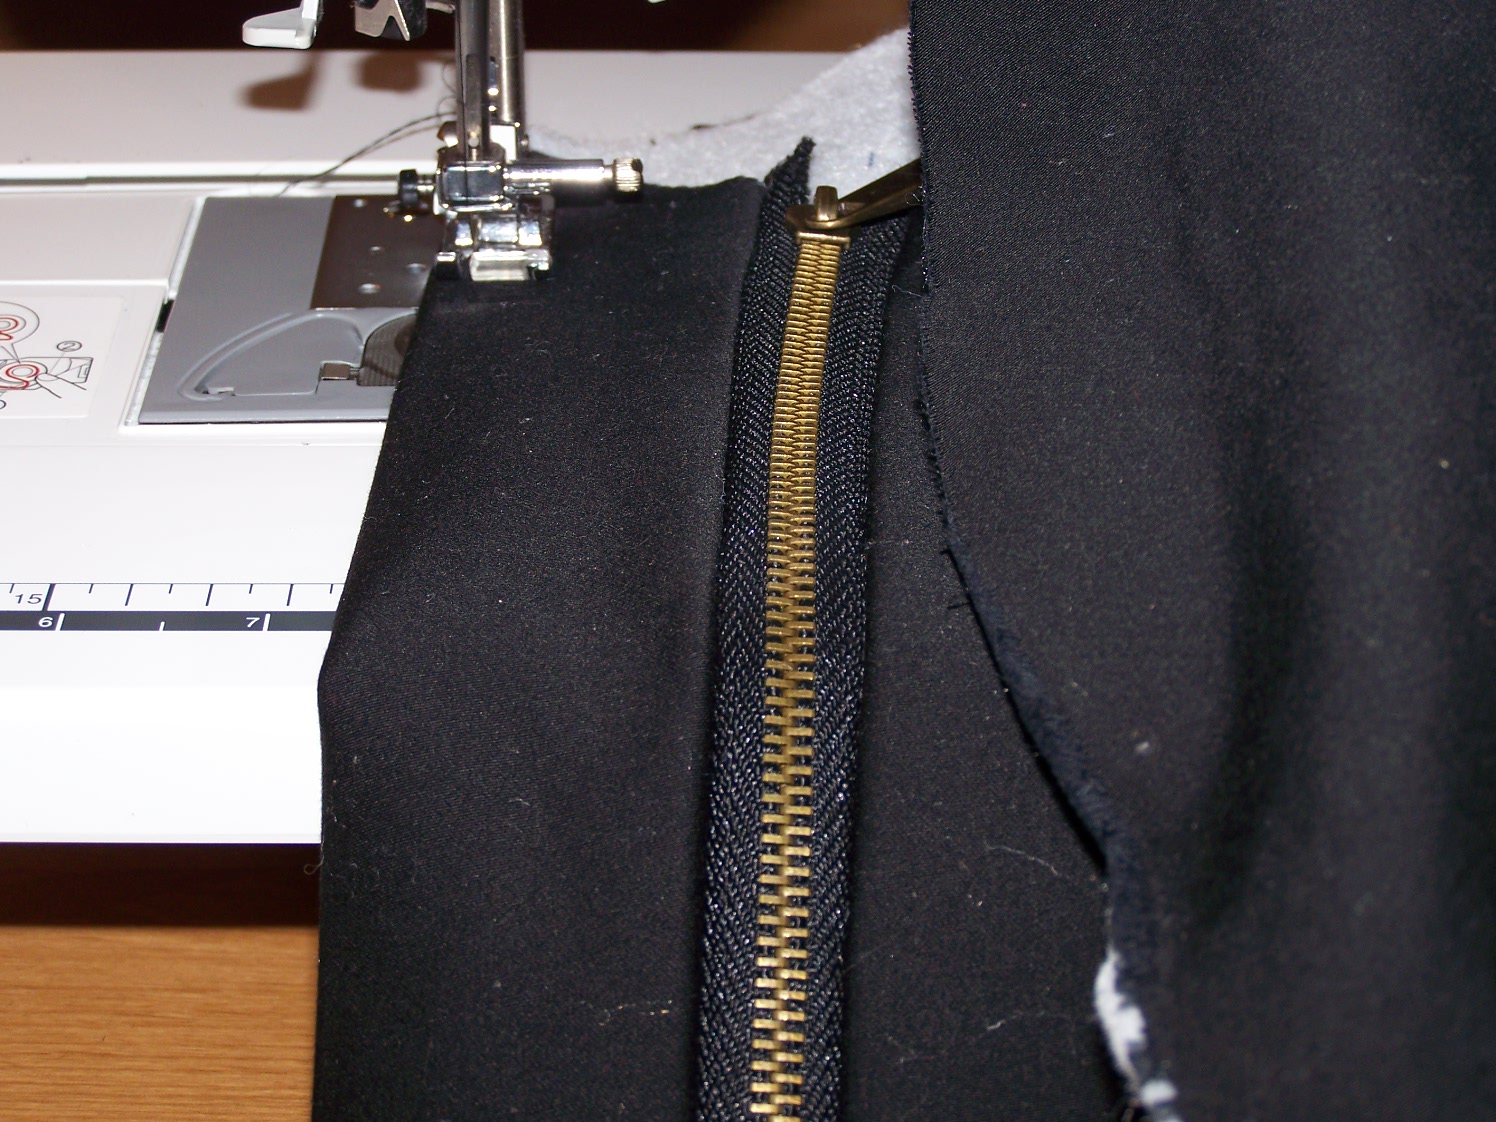
Fold the smaller edge 2 inches from the top and Iron. This will keep your fold in place while you attach the zipper.

Pin the zipper in place on the raw edges of the fold on the front fabric panel and center the zipper to sew in place. This will allow a one inch seam allowance. repeat this method for the back panel.

Both panels are now attached to the zipper.
Step 3:
Place a finishing seam along the folded edge to add stability to your recessed zipper.

Step 4:
To create the front and back pockets, attach the fabric lining pieces to the secondary fabric  panels with right sides together leaving the bottom open. Turn the panels to the right sides and iron the seams flat.
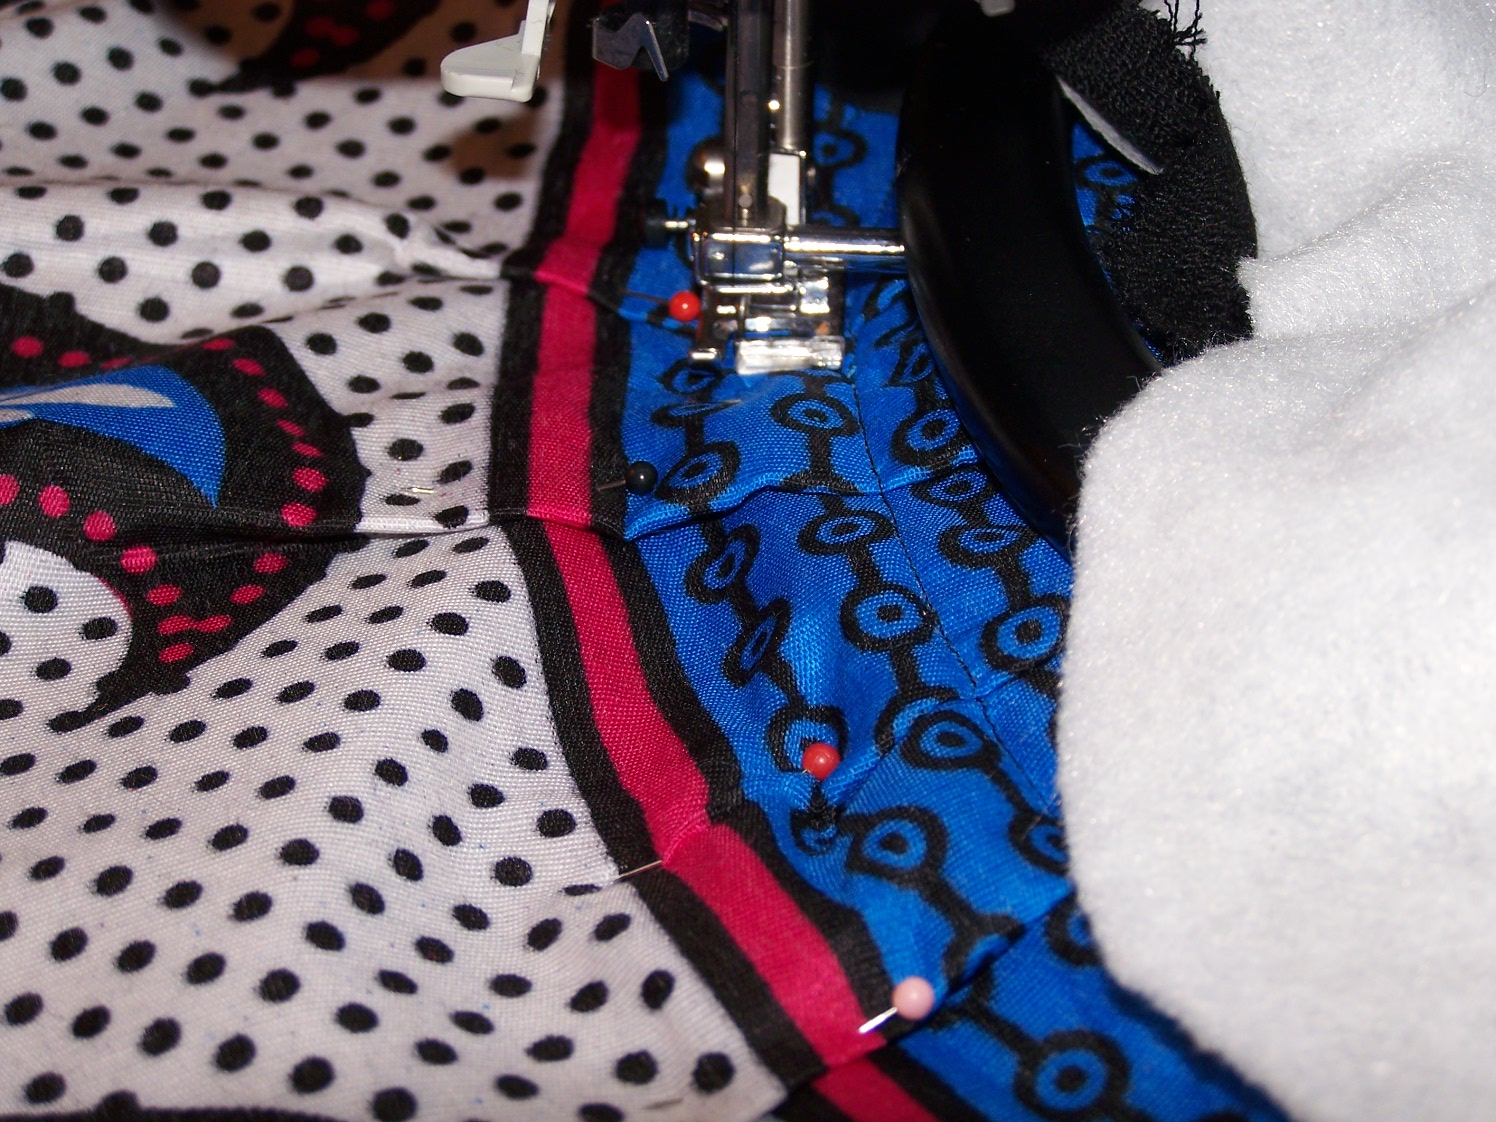
Take one finished panel and fit through the oval wooden handle. Fold over 2 inches and create pleats and pin in place as you adjust the fabric around the bottom of the handle. Iron the pleats in place on the main panel and pin them down. This will stop the fabric from gathering in the wrong places as you stitch along the base of the handle.
Step 5:
Center both front and back panels onto the main purse panels. Pin in place and ensure your top pleats are laying flat.

Attach each pocket panel to the main purse panels. Sew directly under your first stitch.

Step 6:
With right sides together pin the purse together to sew your purse together. Trim panel pieces as necessary. There are three things to ensure before you apply your stitches: 
- Ensure the folds for the recessed zipper are pointing towards the top of the purse. Pin in place.
- Ensure the pocket openings are not sewn closed. Allow a hand width opening.
- Ensure that the pleats are laying flat towards the bottom of the purse.
Step 7:
Use the finished as a template to trim the lining and allow 1/2 inch seam allowance to ensure a snug fit. With the lining front sides together sew the lining sides and bottom. Turn the lining to the right side and iron seams.
 Turn the purse inside out and slip the lining over the body of the purse. Fold the raw edges of the lining inward to sew the lining to the zipper right under the zipper teeth.

The purse is now complete. Please take her out for a spin!

Check out this purse and others on my Design Gallery Photos Page!
Stay tuned there’s more to come from La Cartera!
Related articles
- Tangerine Foldover Clutch Tutorial (lcartera.wordpress.com)
- Urban Summer Purse Tutorial Part #1 (lcartera.wordpress.com)
- Urban Summer Purse Tutorial~ Part #2 (lcartera.wordpress.com)
- Creme de Menthe Pruse Tutorial (lcartera.wordpress.com)
- Paisley Park Purse (lcartera.wordpress.com)
- Paisley Park Purse Tutorial (lcartera.wordpress.com)


Fantastic 🙂 thank you
LikeLike
Your projects are all uniquely made along with great tutorials. Happy New Year and Blessings always. Be Blessed, Mtetar
LikeLike
Thank you! Happy New Year!
LikeLike