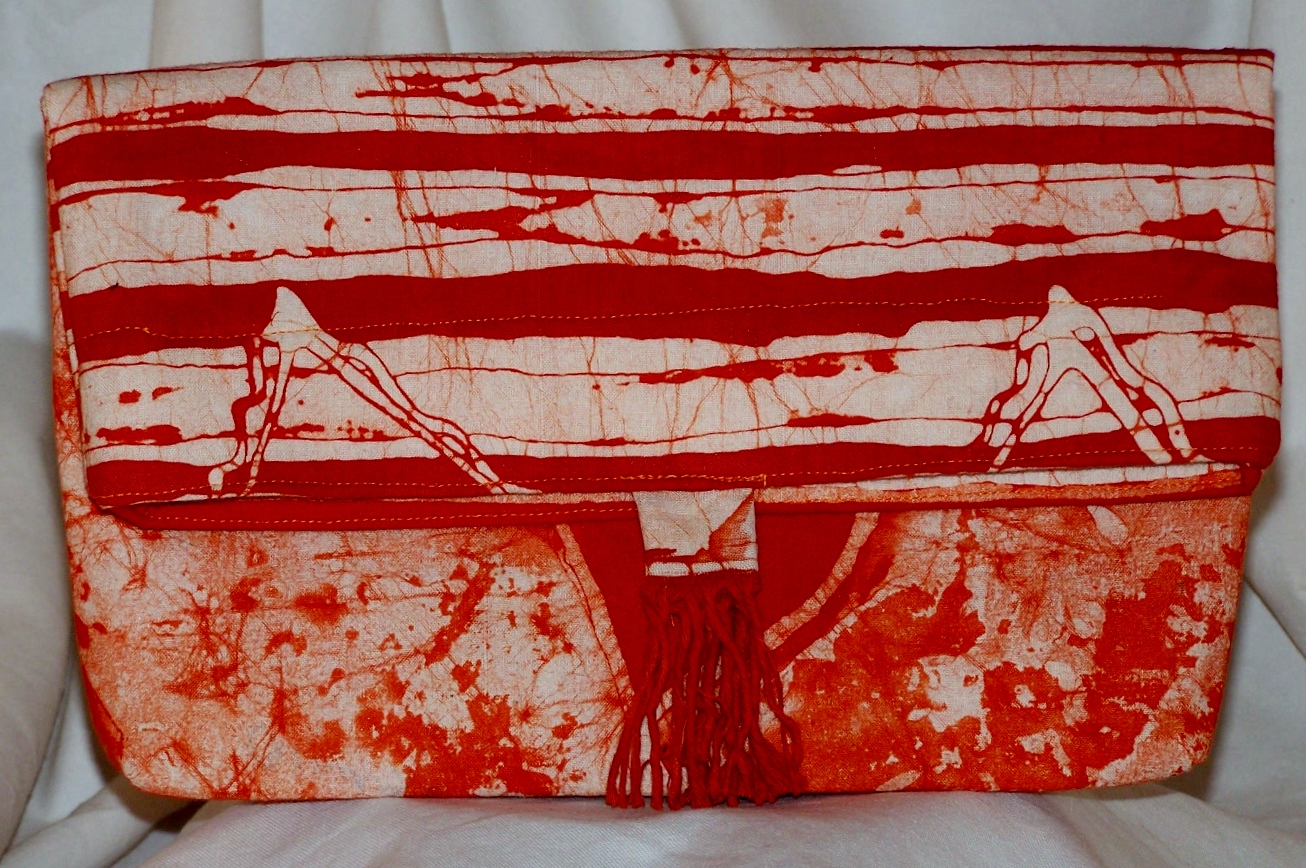
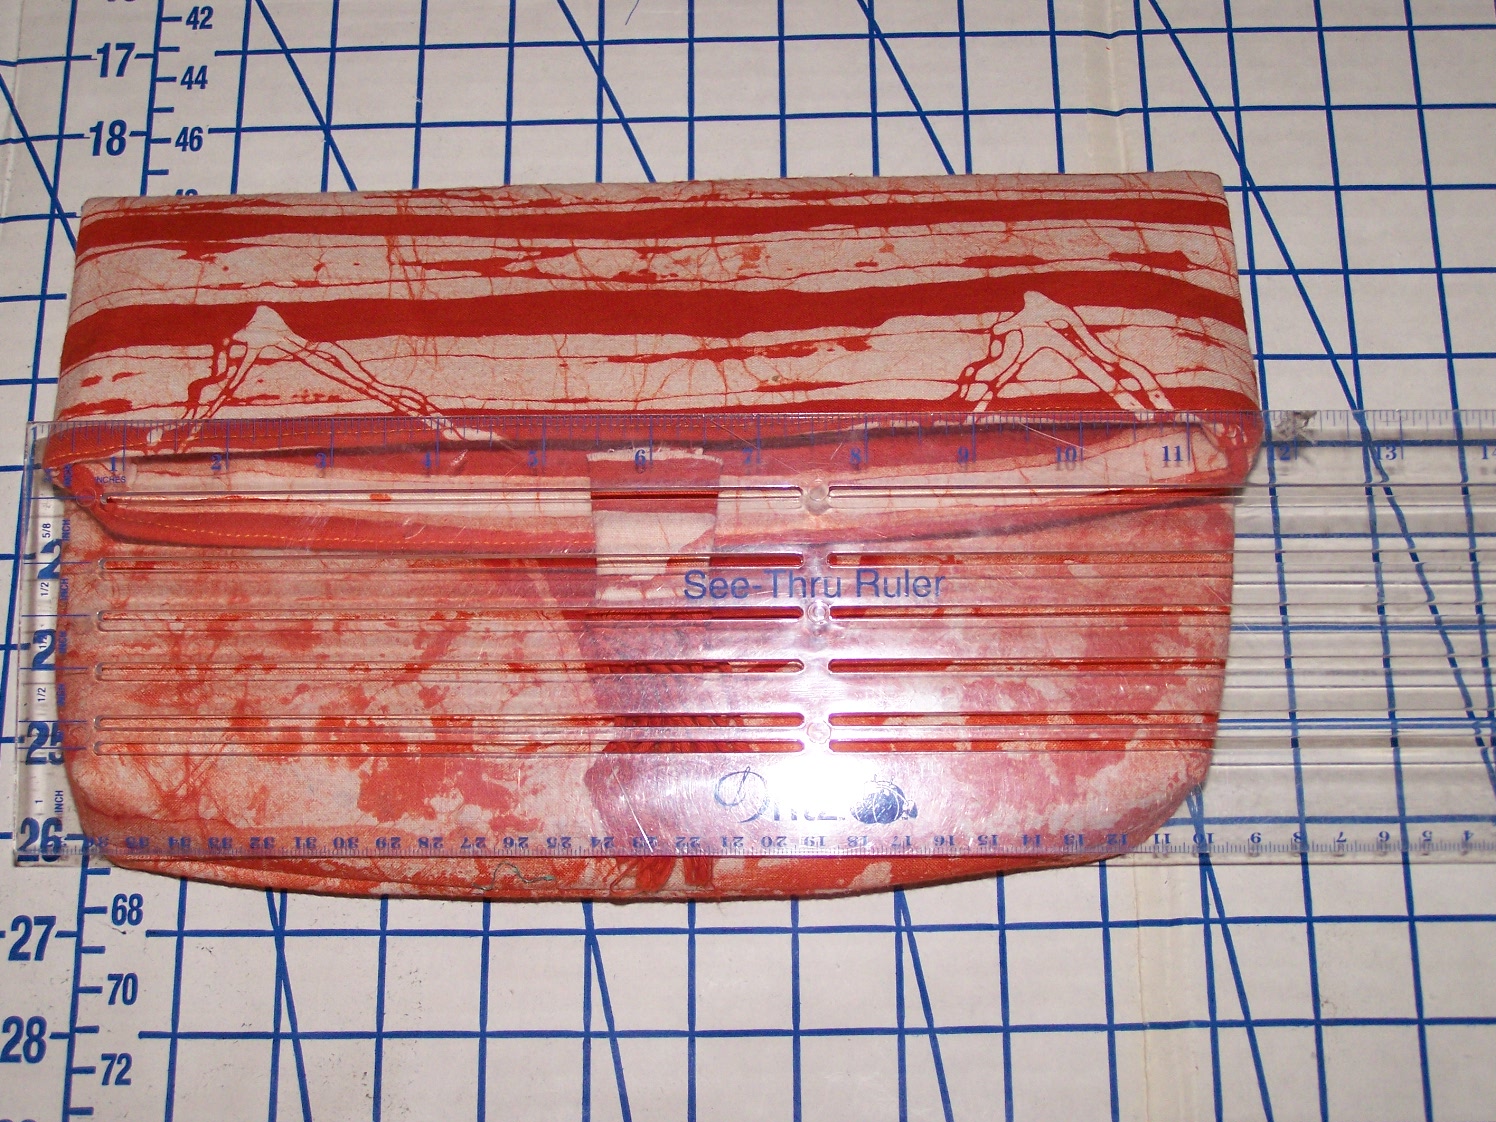
This design is super easy and fun to make! The Tangerine foldover clutch material used here is from Abuja, Nigeria. I love the paint splatter effect. My fabric choice comes from a repurposed Nigerian cotton long dress. The recessed zipper and the magnetic snap secures your belongings and helps with the sleek look. Here’s another view of the clutch before I begin the tutorial.

Materials Needed:
- 12 inch zipper
- Magnetic snap
- Main fabric
- Lining fabric
- Pellon Interfacing (medium-heavy weight)
- (Placemat as cutout template)
Tutorial
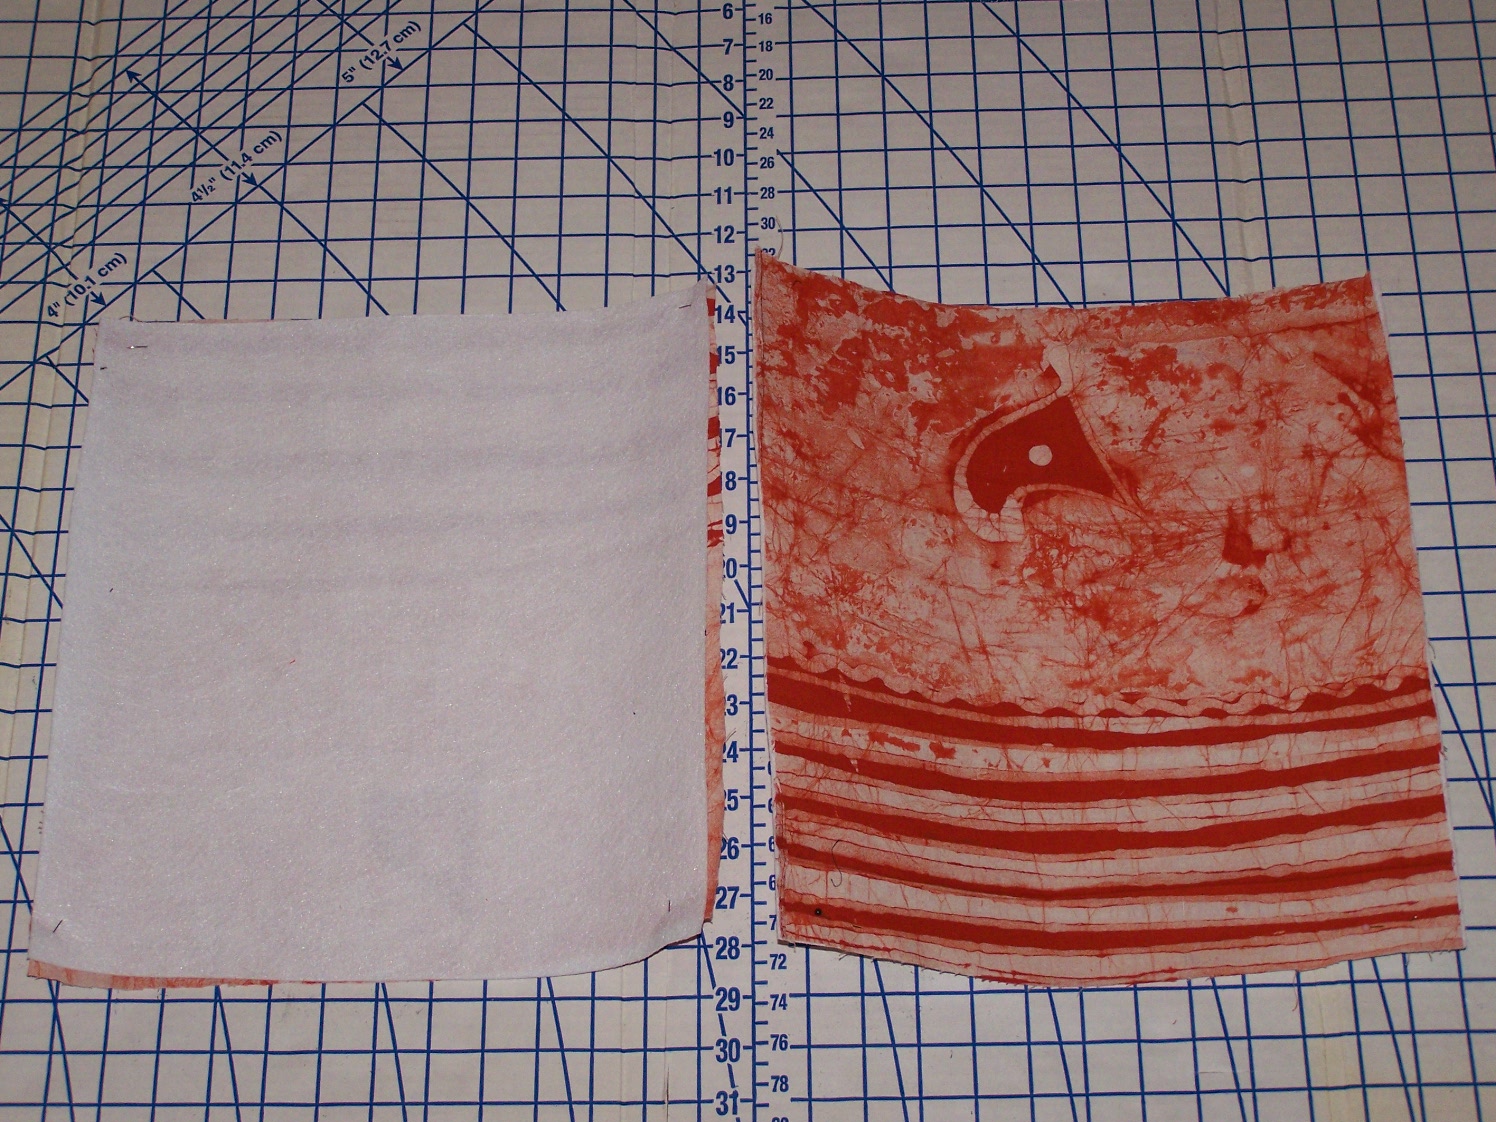
Step 1
Cutout your main fabric 15 inches length x 13 inches width. Use this as a guide to cutout the interfacing and lining for exact measurements. Iron on your fusible interfacing or use my favorite: “Spray Adhesive by Dritz” to adhere non fusible interfacing to the fabric.

Step 2
After adhering your interfacing fold over the top of your font and back panels 2 inches and iron. I do this to save on pining time and ensures my fold remains in tact.

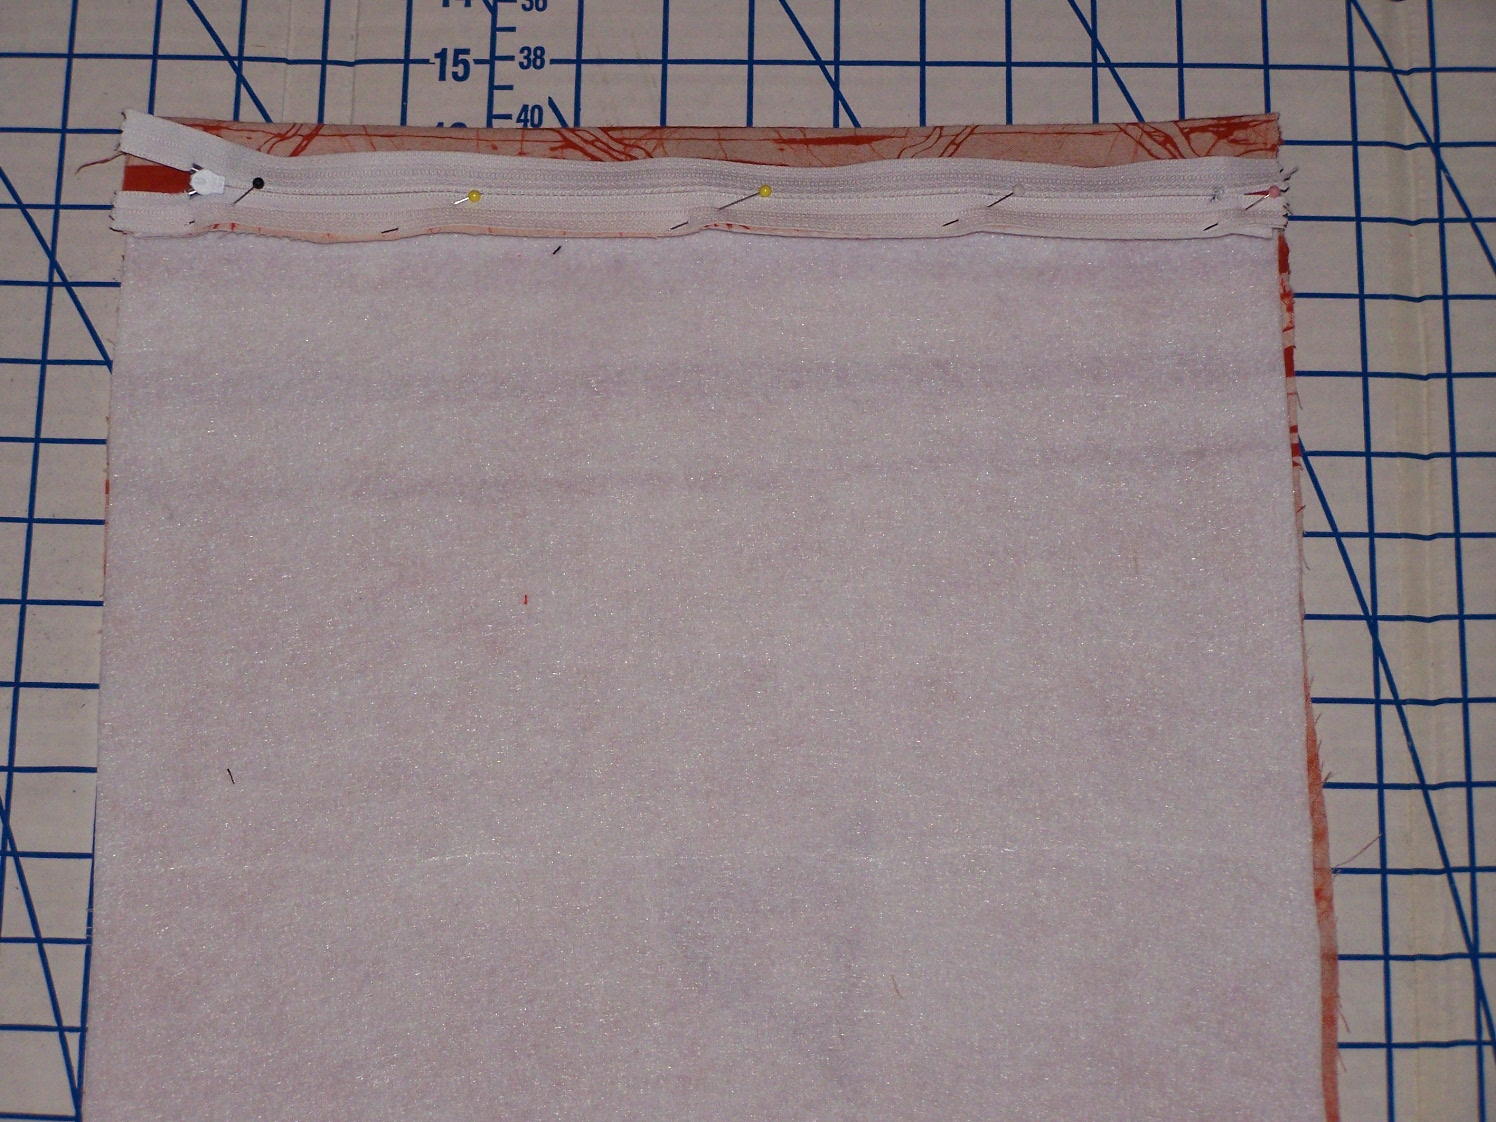
Step 3
On the front panel place your zipper at the very end of the fold and pin in place. Allow 1/2 inch seam allowance on each end. Then attach the zipper to the back panel using the same method.
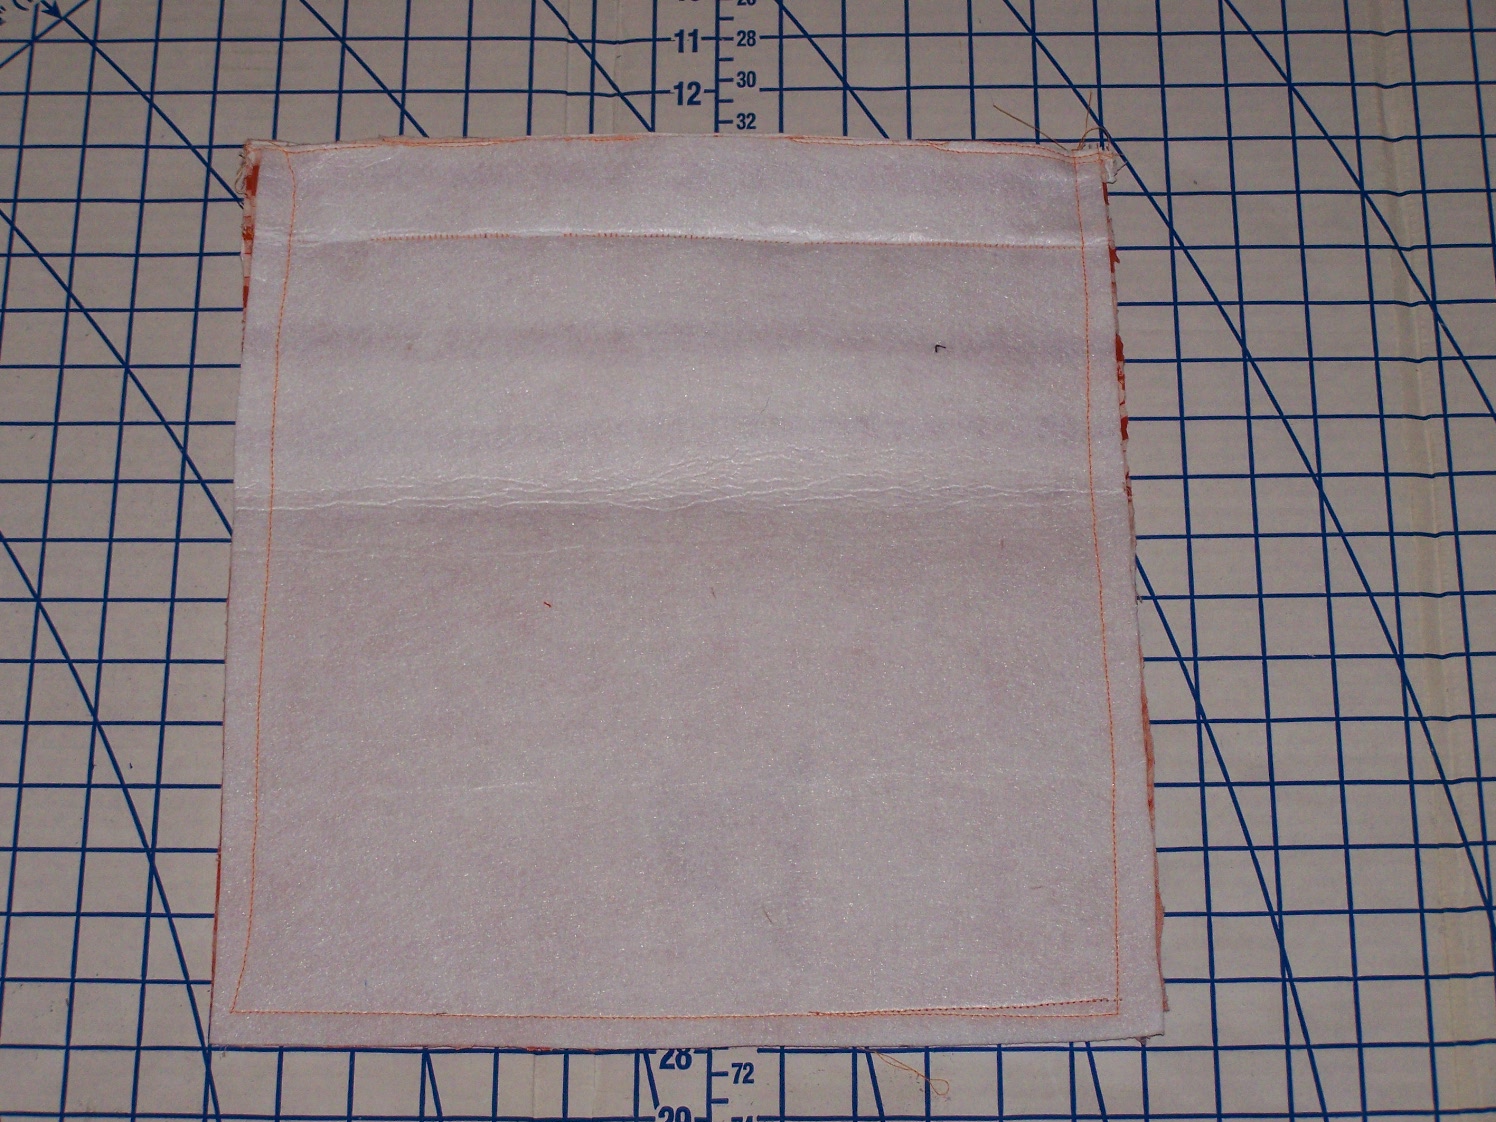
Step 4
Sew a finish stitch on top of the fold to keep your fold in place.

Step 5
Now lay front sides of the panels together and sitch 1/2 inch along the sides and bottom. Cut out a 1 inch x 1 inch square on each corner .

Step 6
Pin the open ends together and sew a straight stitch across to create box corners. repeat on both ends. I typically double stitch the ends.

Step 7
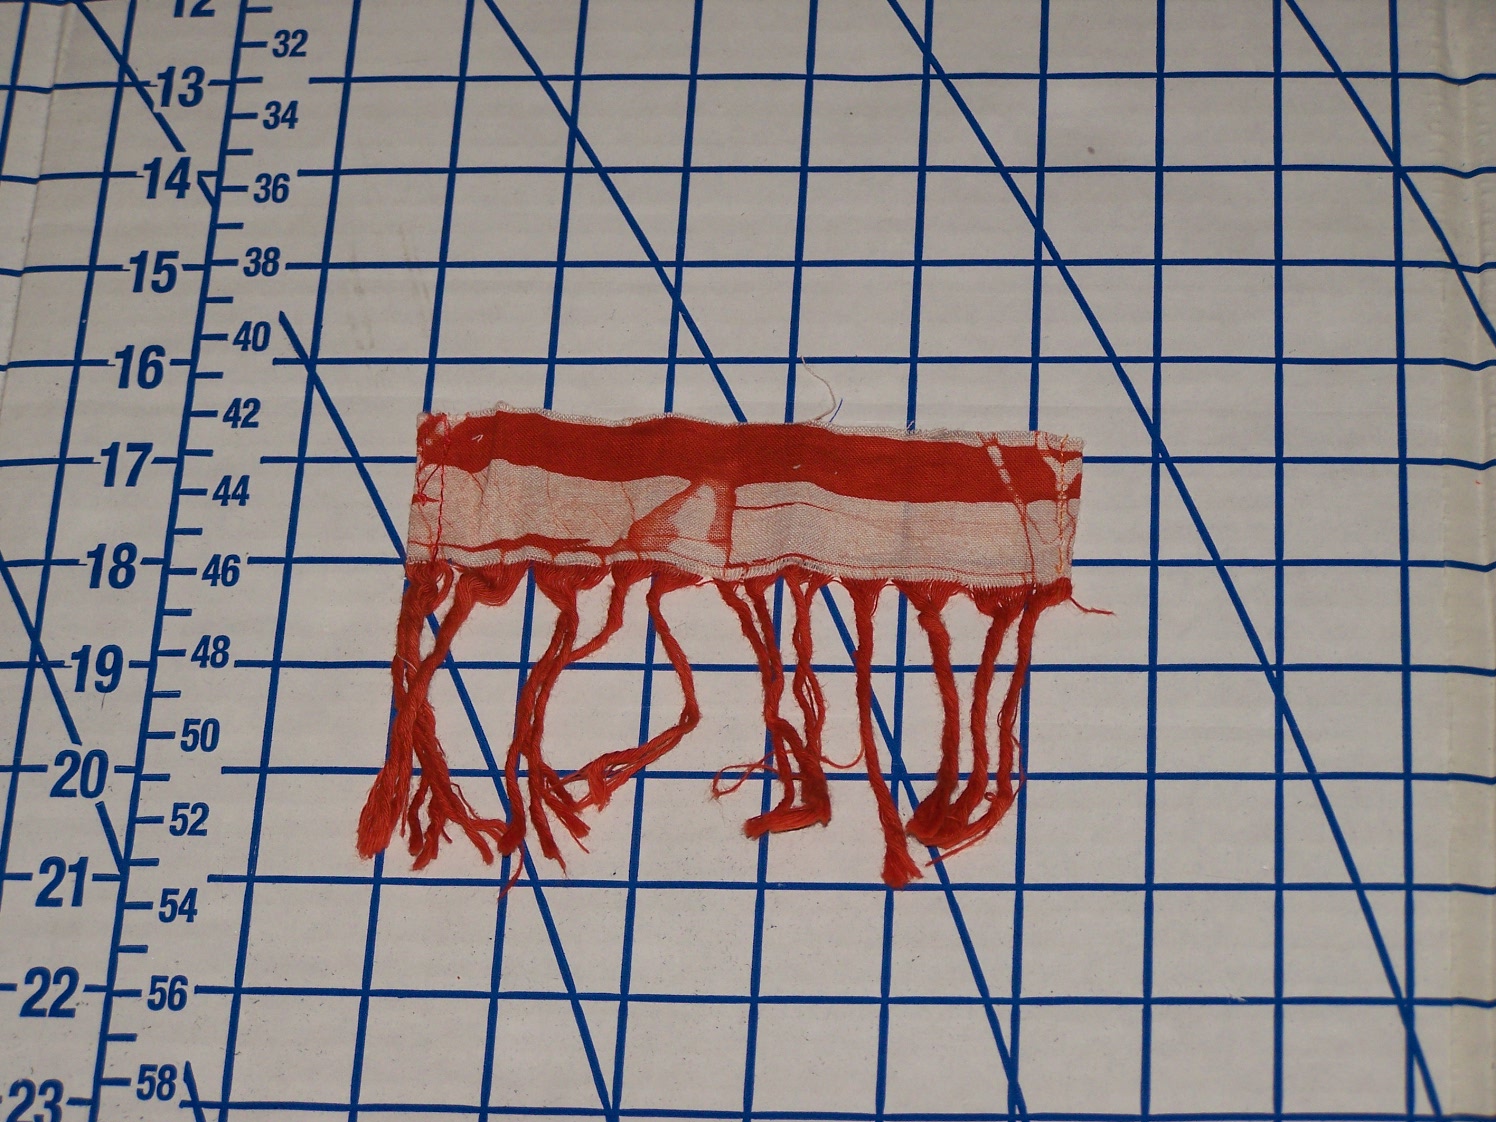
Prepare your tassel. 5 1/2 inches length x 1 inch width is needed for the main fabric. Lucky for me my dress had fringes on the bottom, but you can make your own. Total fabric size needed. 4 inches width x 5 1/2 inches length inches:
- Fold 1 inch folds on to itself and cut strips from the bottom of the fabric leaving a 1 inch base.
Step 8:
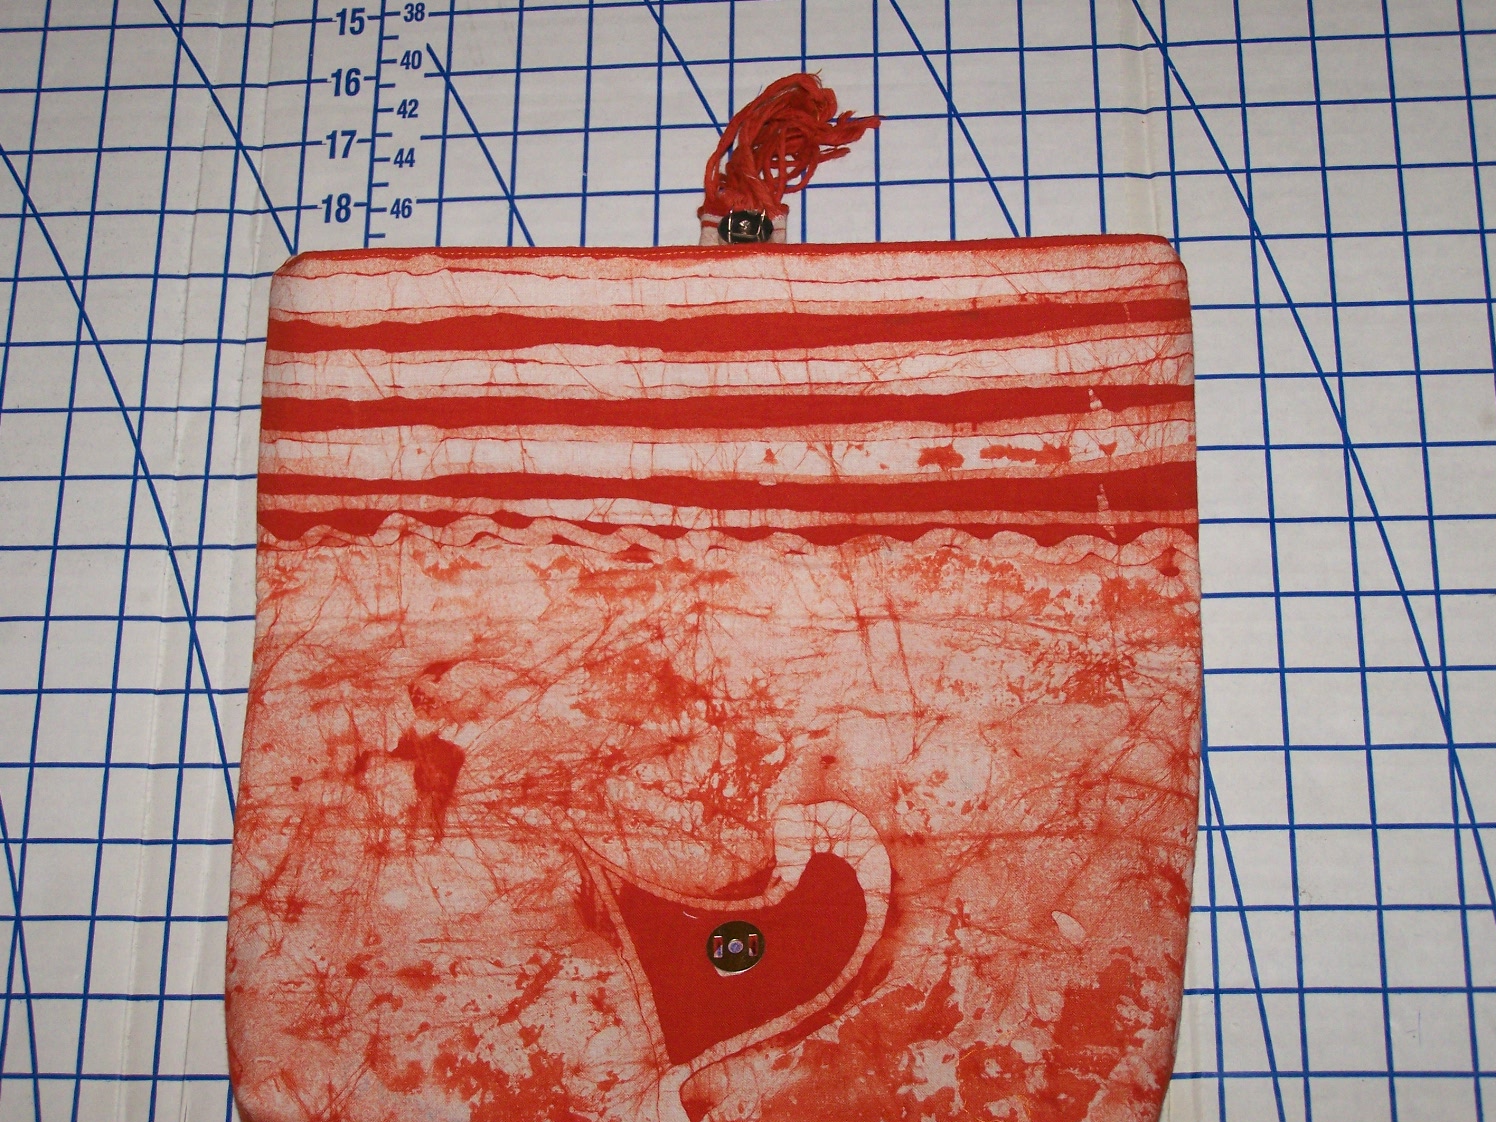
Center the placement of your tassel 6 inches will give you the center point. Before attaching the tassel place the magnetic closure on the back side of the tassel (following the manufacutre instructions). The prongs of the magnetic snap should be hiden by two layers of your tassel fold. Ensure that the heavest portion of the magntic snap is attached to the front purse panel.
Attach the bottom of the tassel to the under the top fold of the purse. Fold the top raw edges of the fabric tassel 1/2 inch a sew a straight stich to attach to the fold. Double check that it’s aligned properly.
Step 9:
Sew your lining panels together sides and bottom using an 1 inch seam allowance. Cut out your 1 inch x 1 inch square at the bottom and sew edges together as shown in step 6.


Step 10:
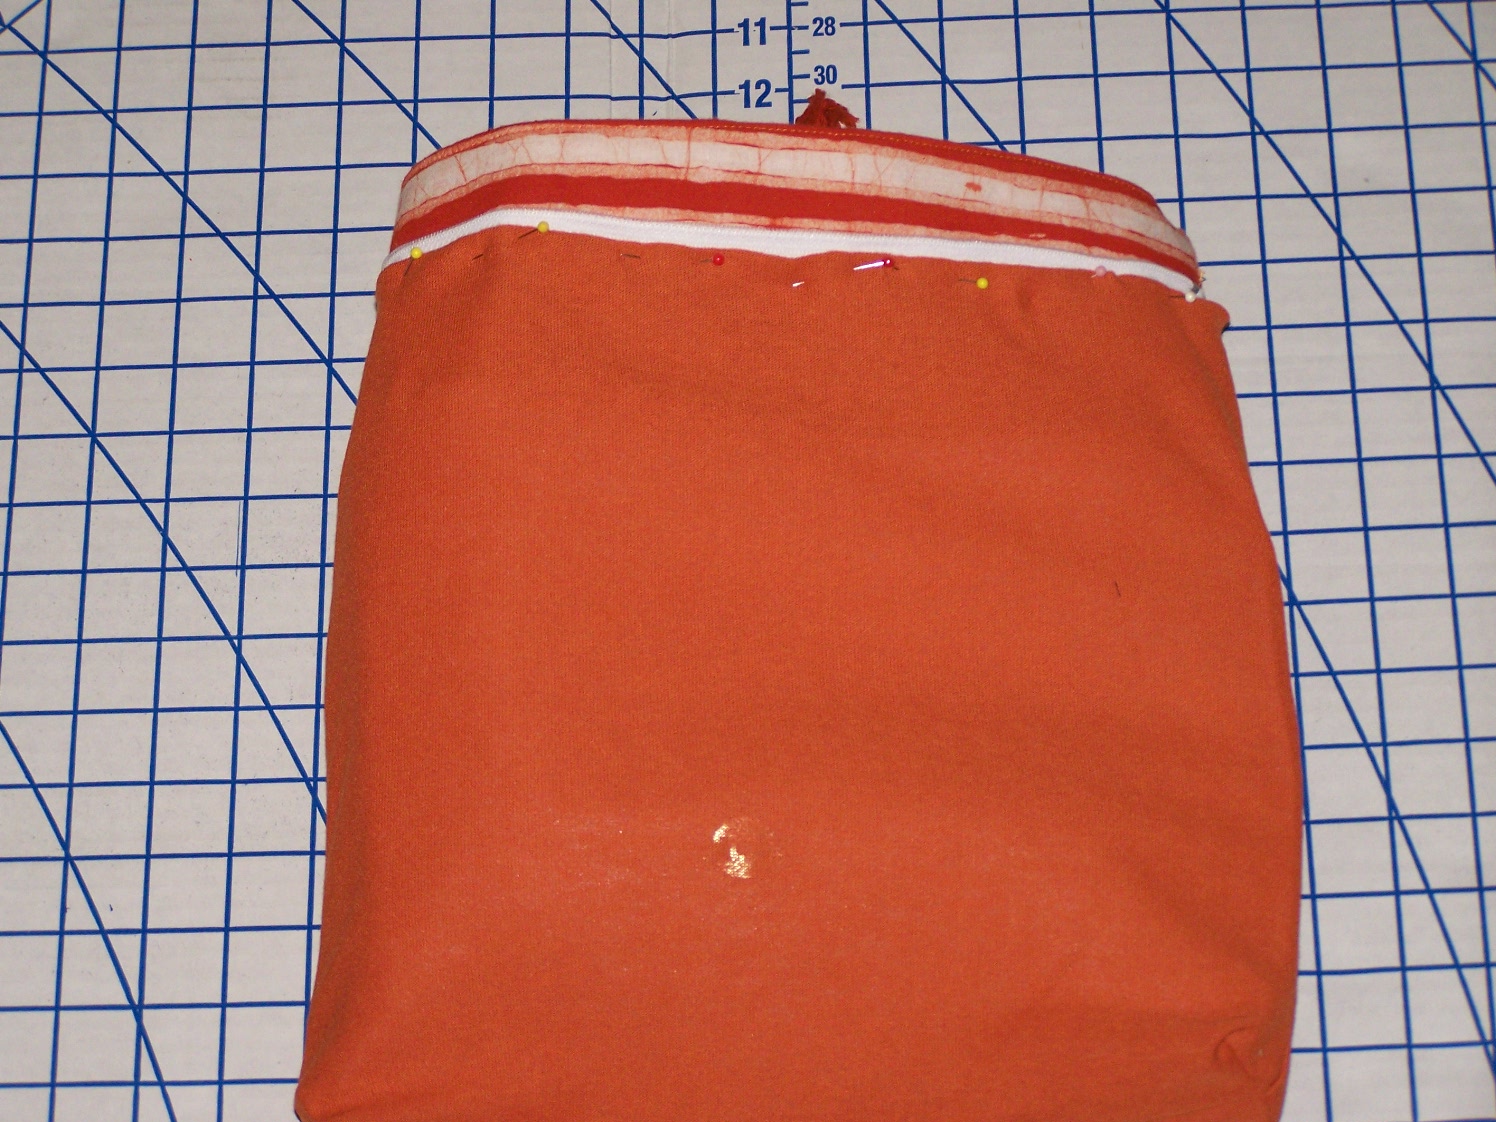
Fold the top of the lining 2 inches and iron the fold. Place the lining inside the clutch to ensure proper fitting.

Step 11:
Turn the clutch inside out and pin the lining to the zipper raw edge. Stich along the very top of the lining to attach to purse. Your clutch is complete. I always iron the finished product on the right sides to ensure the fabric lays flat.

Your fabulous full size foldover clutch is completed! Enjoy! See the Tangerine Foldover clutch and other purse designs on my “Design Gallery Photos” page!

Stay tuned there’s more to come from La Cartera!


4 Comments Add yours