 Placemats have become my reusable (recycled) product of choice this month. Not to mention my $5 tablecloth I use for lining my purses. Using only four placemats (12×18) I created a tote bag, wristlet and mini clutch without a pattern. My goal is to create as many purses throughout the year documenting my progress.
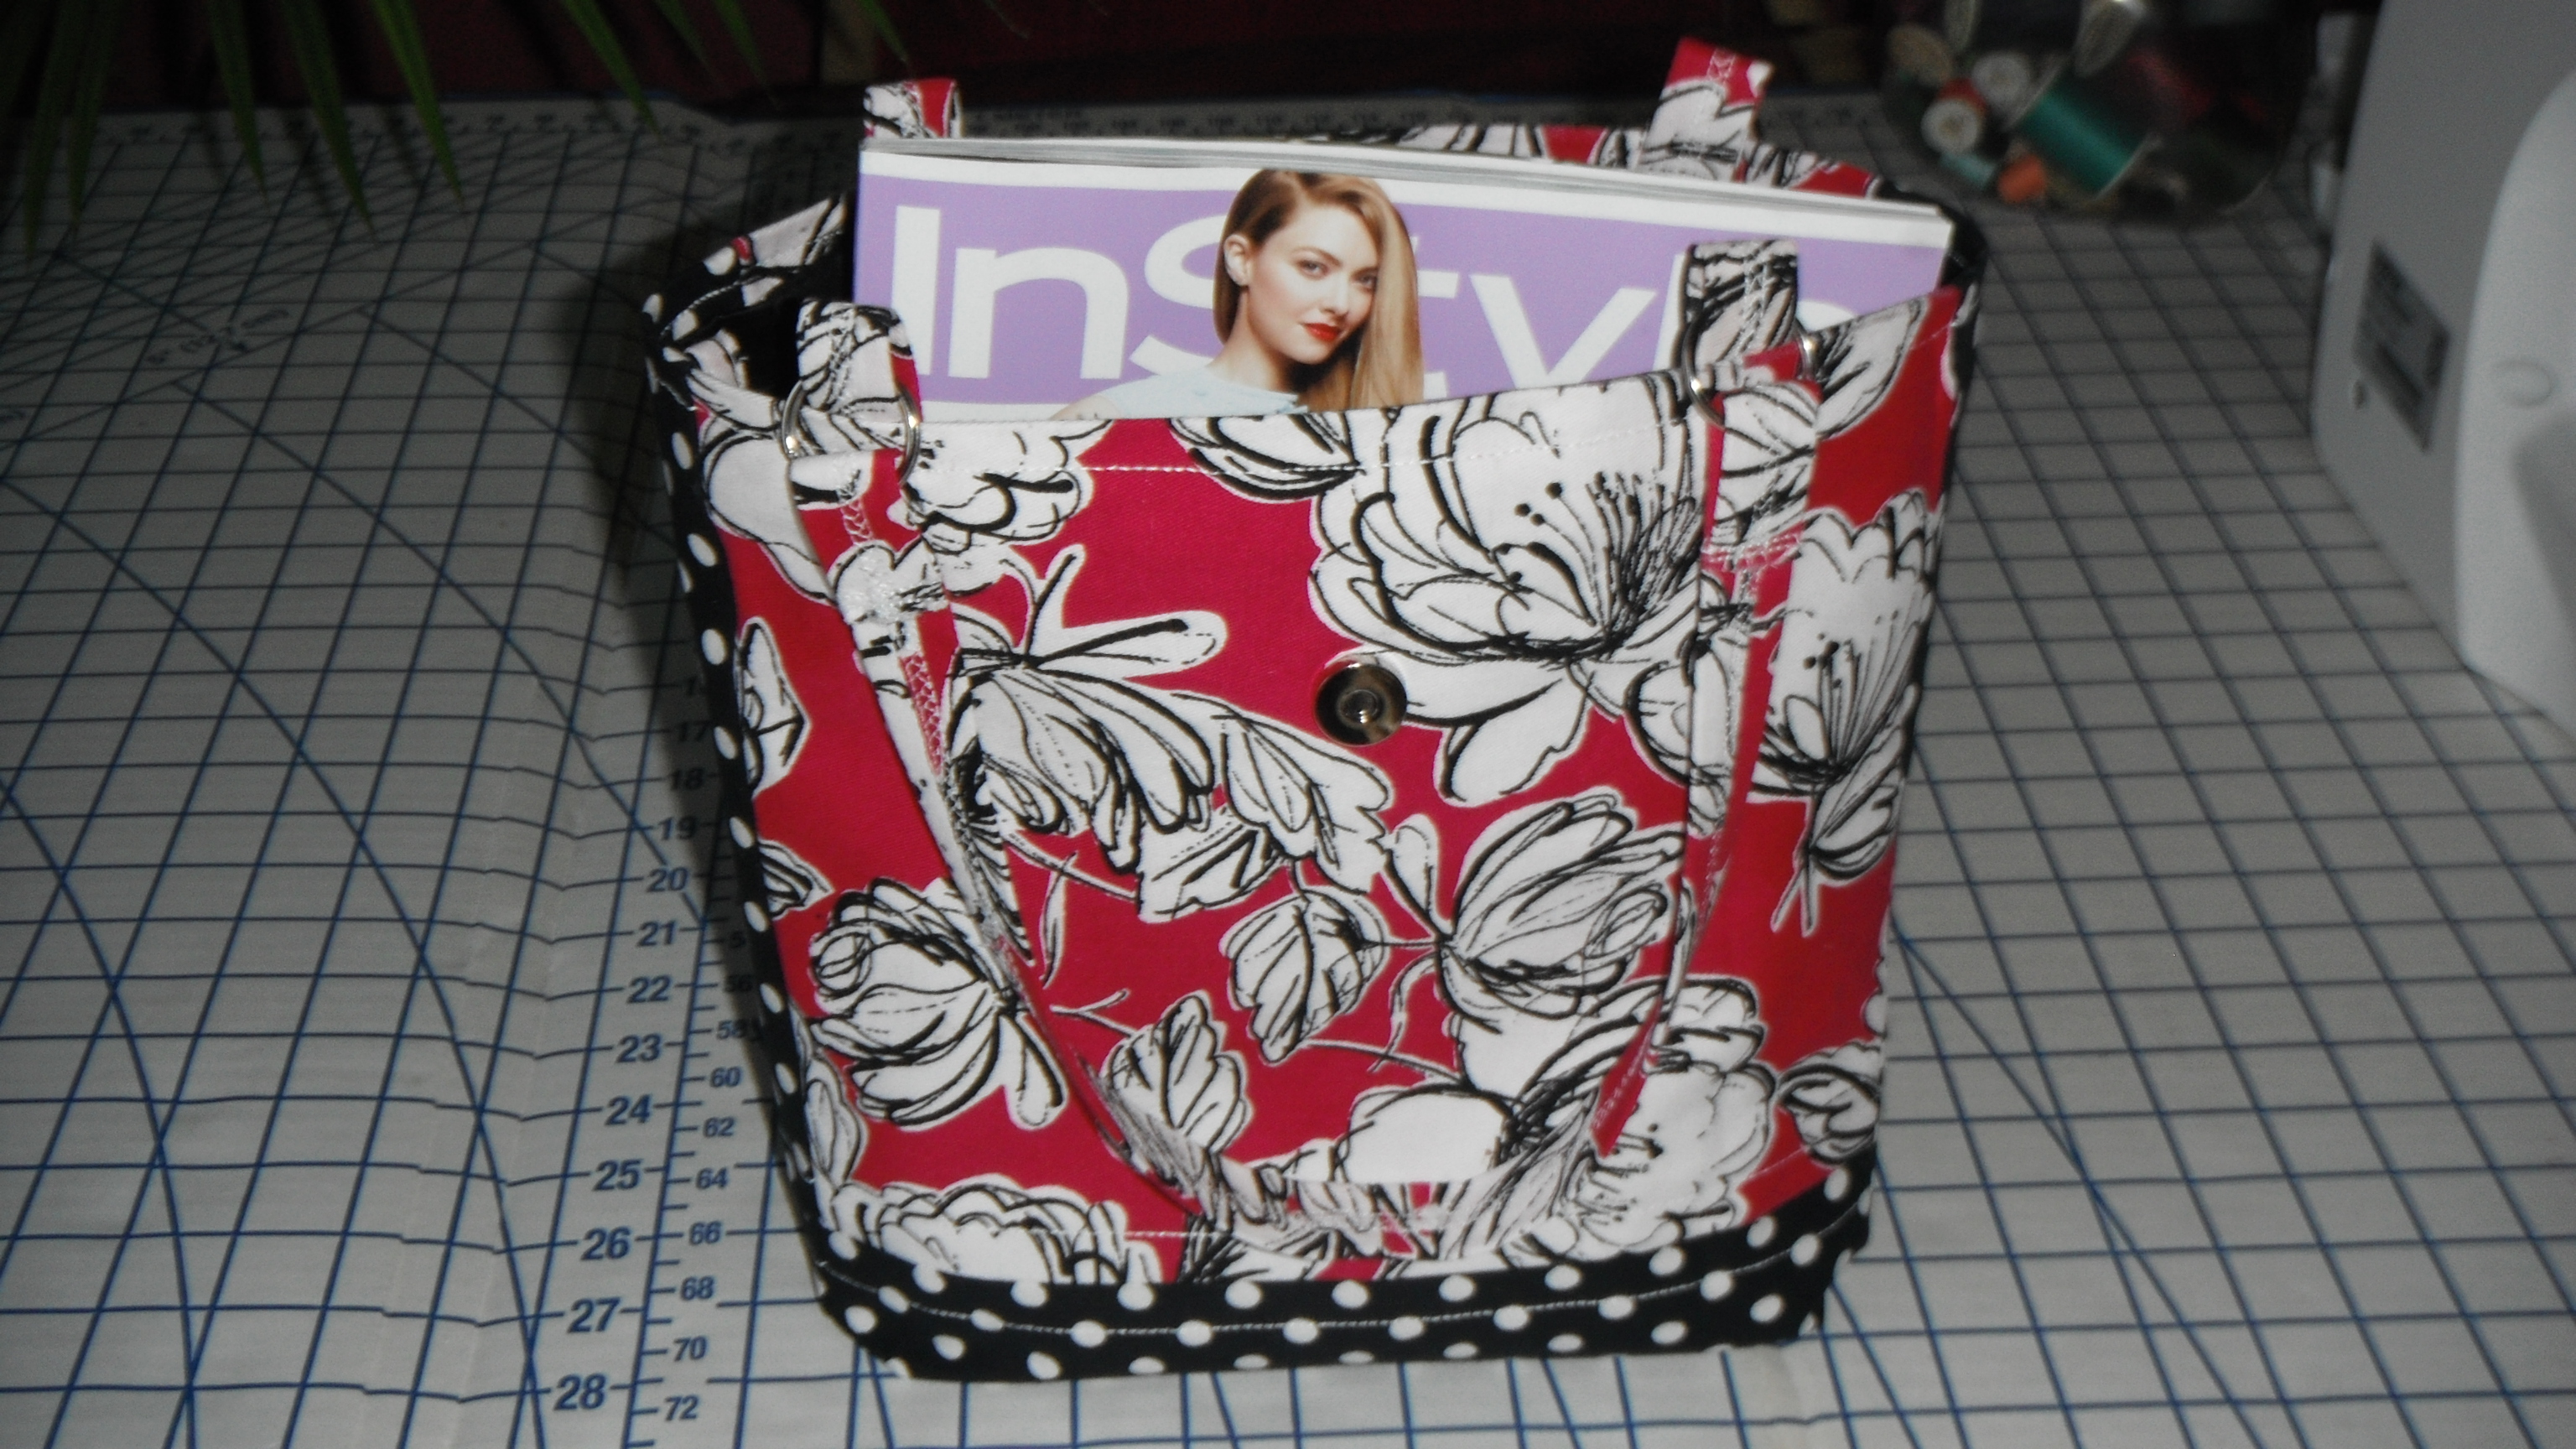
Laura Ashley placemats made from a durable canvas material were perfect for this challenge. There were only two placemats and remnats remaining when I decided to make the tote bag that coordinated with my mini clutch wallet and wristlet.
The mini clutch wallet is super simple to make, and hopefully it will inspire you to make a tote bag too!
Materials Needed:
-
placemat
-
magnetic snap

Trim the edges of the placemat, and separate the two sides.
Step 2
Cut both pieces of fabric 14 inches length x 8 inches width. Cut your coordinating strip 14 inches length x 2 inches width.
Step 3
Take your primary fabric sew the coordinating strip using a decorative stitch on each side to attach.
 Step 4
Sew both pieces of fabric – right sides together leaving both ends open.
Step 5
 Decide where you would like the mini clutch to close. Install the magnetic snap at the top of the purse (following the manufacture instructions), and sew the top seam. Turn to the right side and iron the folds in place so that you can attach the bottom magnetic snap.
Step 6
 After installing the magnetic snap fold the raw edges inward and iron. Stich the bottom fold and along each side.
You have completed the mini clutch wallet. You can enhance anyway you like.

Place a comment below if you would like a tutorial on how to make the tote bag.
I’ve included the link to the tote bag tutorial under related articles.
Related articles
- Upcycle Tote Bag Tutorial (lcartera.wordpress.com)


Hello There. I found your blog the usage of msn. This is a really neatly written article. I’ll make sure to bookmark it and come back to read more of your useful info. Thanks for the post. I’ll certainly comeback.
LikeLike
Thank you, I appreciate your support in my new adventure.
LikeLike
This is adorable 🙂 Have you ever thought about selling what you make? And I received your email. Can’t wait to share !
LikeLike
Thank you! I’m getting ready for Etsy in the spring. I’m working on my purses now. 🙂 “Party! Party!
LikeLike
🙂 Yay. Let me know. We might have to collaborate a giveaway of some sort or something fun like that 🙂
LikeLike
You’re reading my mind!! LOL That sounds like fun for the spring. 🙂
LikeLike
I was thinking the same thing 🙂 And could you imagine all the followers & viewers then ?
LikeLike
Every time I see a post like this, it makes me wish I could sew. Always seemed like such a fun hobby!
LikeLike
It is a lot of fun…expecially when your creation is completed. You should give it a try, using one of the tutorials. 🙂
LikeLike
This is so cute! I love it!
LikeLike
Thank you! I enjoyed making it. Stay tuned- there’s more to come . 🙂
LikeLike
Omg this is a really cool idea!! After im done with my exams i’m going to try this!!
LikeLike
Thank you, please let me know when you complete the wallet. I would like to see pics. 🙂
LikeLike
I would also like, to get a copy of the tutorial, for the tote bag. Thanks! Anne
LikeLike
The tutorial is called “Upcycle tote bag.” Please let me know if you make the tote. I would like to see a picture. Have fun!
LikeLike
I really appreciate your creativity. The project you have done is so inspirational and admirable. Its floral design makes it so glossy and endearing.
LikeLike
Thank you. 🙂
LikeLike
I love this idea! I can’t wait to try this! Thanks so much for sharing your idea!
LikeLike