
This is a quick and easy tutorial and a cinch to make as a quick gift or to use yourself. The wristlet purse tutorial- made with recycled materials found around your home. Of course you dont have to use recylced materials, and you can embellish anyway you like.
Materials needed:
- Pillow case (decorative)
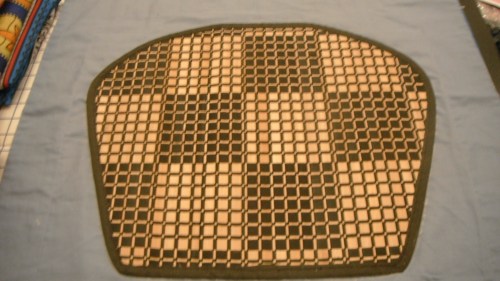
- Placemat (template)
- Placemat (stabilizer)
- Button
- Metal ring (Key Ring)
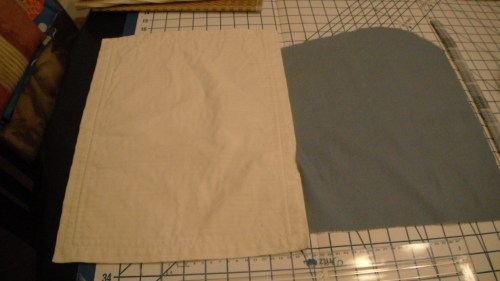
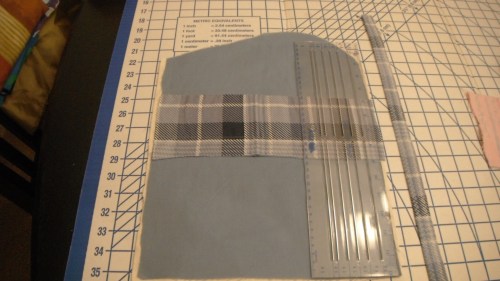
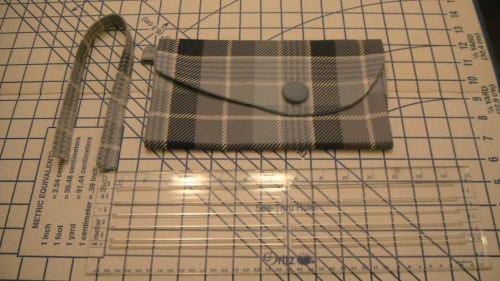
1. Lay out your material right side down. Use a placemat as a template to cut out your design. I’ve used a pillow case for the fabric in this design. Also cut off the pillow case trim edges 2 inches to use as the purse strap.
2. Remove the placemat after cutting out your design, and fold the strap piece in half sewing decrative stitches lengthwise to close and reinforce the strap.
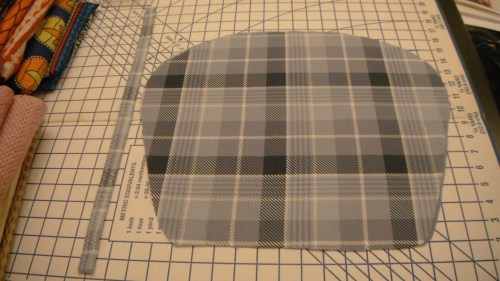
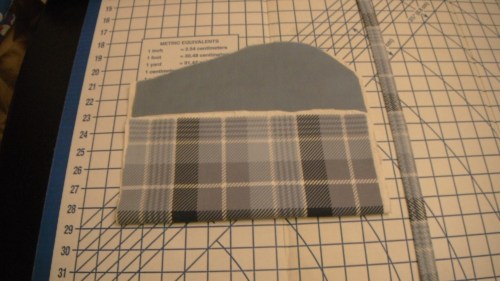
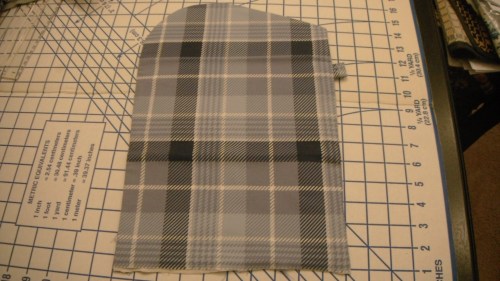
3. I used the decorative side of the pillowcase as my purse front.
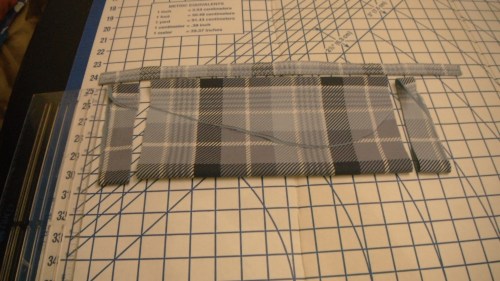
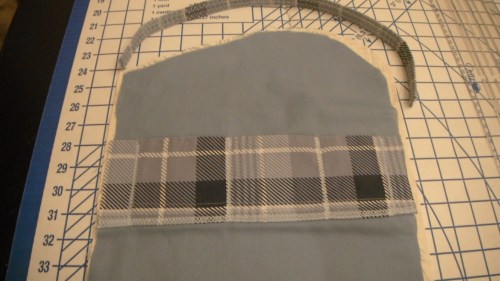
4. Fold the cut out to the desired wristlet size and trim the edges to your desired length. The strap length is shown above.
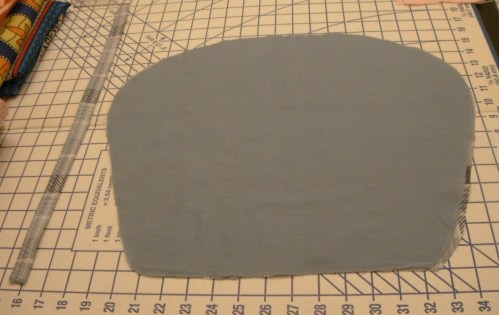
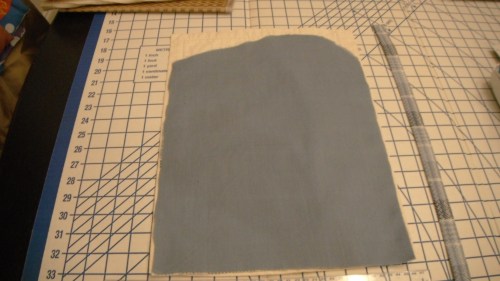
5. Use the cut out as a pattern for the second cloth placemat that you will use as a stabilizer for the purse.
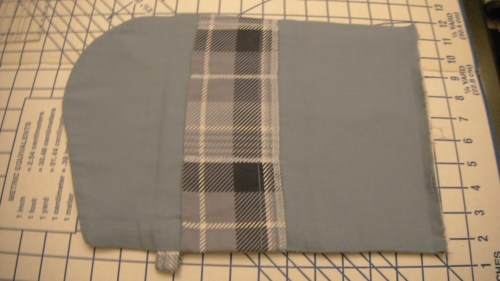
6. Separate the placemat after cutting out my pattern and use the half without the border attached to get a smooth finish.
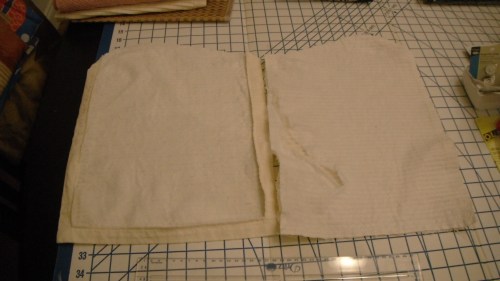
7. Align the pieces together and iron the wristlet to mark the folds of the flap and bottom of the purse.
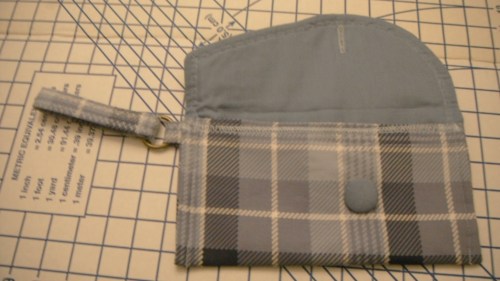
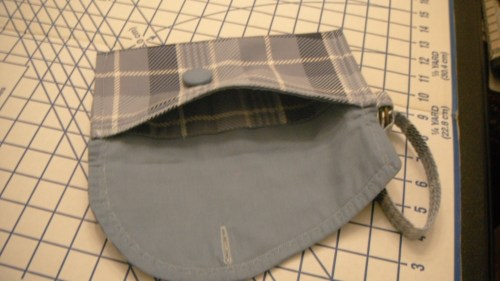
8. With the remaining scraps from the pillow. Create strip wide enough for an inside pocket. Use your cell phone as a guide to the width and length needed. Place the pocket strip just below the flap fold and sew onto the fabric used for the lining. I created three separate niches, but you can make as many as you like.
9 Before sewing the wrong sides together, cut an approximate 3-4 inch section from your strap to use as a handle for the ring. Place the small strap layered between the the cut out pieces leaving the raw edges showing when sewing the pieces together. Leave the bottom open so that you can turn the purse inside out. (Adhere any magnetic closures if desired at this time.) Fold the raw edges 1/4 of an inch inside the purse and iron to hold the fold in place hiding the raw edges. Sew along the closure to create a finish look or use a binding strip.
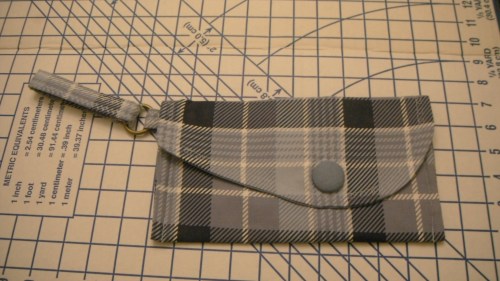
10. Decide the placement of your button. Sew the botton hole and attach the ring to the small handle before attaching the larger strap handle. Overlay the raw edges of the strap and sew a zigzag stitch over the raw edges. Finally, sew the purse together by sewing a straight stitch along each side (double stitching the stitches at the opening of the purse). You can also sew a straight or decorative stitch along the flap.
11. Here’s the finished look by LaCartera!


One Comment Add yours