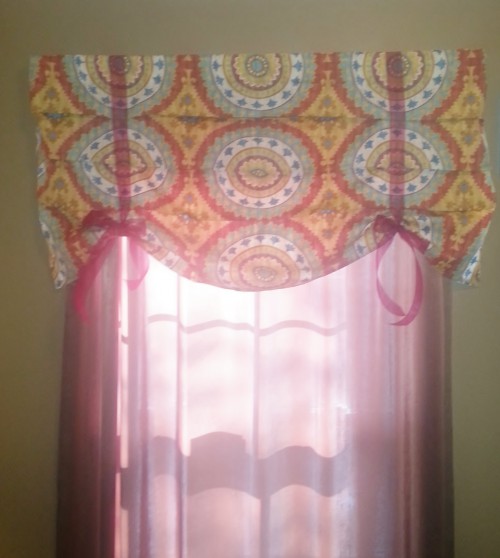
I was torn between a Roman shade and a stagecoach valance in my craft room! After scouring Pinterest I decided to combine the two ideas to create this valance that adds a bit of color to my craft room this winter. If you’re looking to add some color to your room, here’s a fun 8 step tutorial!
Pin for Later!!

Materials: 
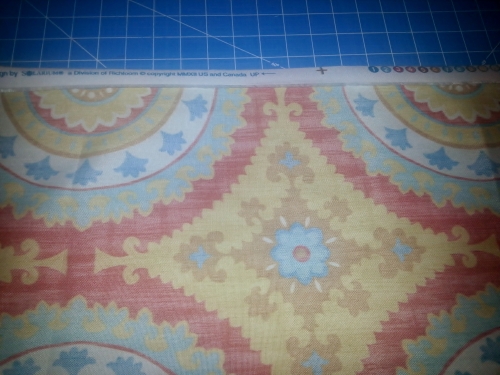
- 2 yards of fabric 54″ wide (I used Solarium Fabric a division of Richloom at JoAnn fabric and craft store* Affiliate )
*Outdoor Fabric-Solarium Inessa Carmel - 3 1/2 yards of Organza Ribbon (1-1/2″ wide)
- Valance rod 2 1/2 ” wide
Step 1:
Cut two fabric panels 32″ length x 56″ width, which includes the manufacture’s border, or use your window measurements. I made two panels.
Step 2:
Fold side seam 1″ press and fold over itself to hide raw edges. I left the manufacture border, or selvage edge of the fabric, and included it in my measurements.
- Fold the top and bottom of the panel 1/2″ on the raw edge, press and fold over to create a finished hem. (as shown below.)
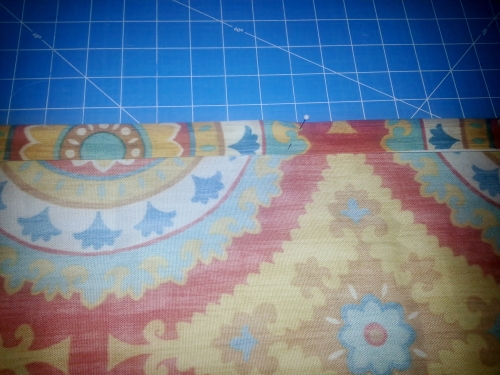
Step 3:
Fold the top hem 3 1/2 inches towards the backside of the fabric to create a pocket for the valance rod. (Note: my rod is 2 1/2″ wide so I added an inch.) Sew 1/4 inch from the bottom of the seam.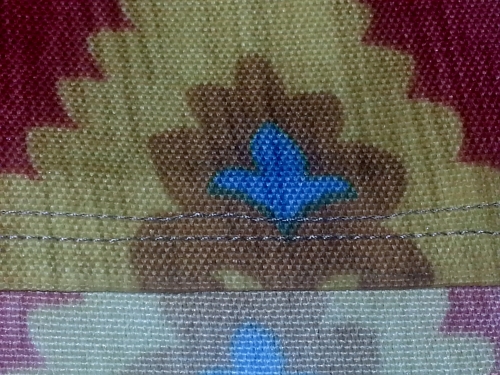
Step 4:
Measure 6″ from the top of the curtain and fold an 1″ pleat. Pin in place and measure 6″ from the inside of the pleat fold on the front panel to make your next pleat and repeat.
- (Note: press the pleats in place and make sure that they are even before you sew the corners.
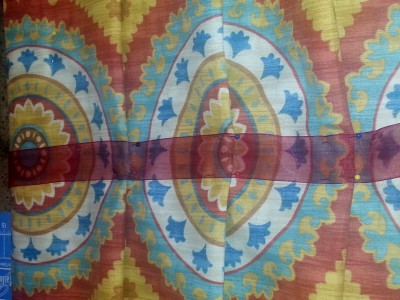
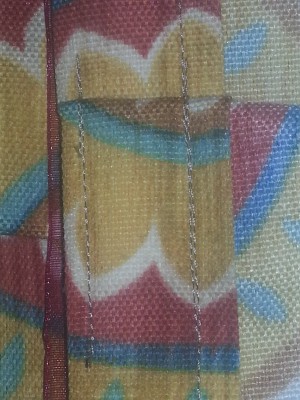
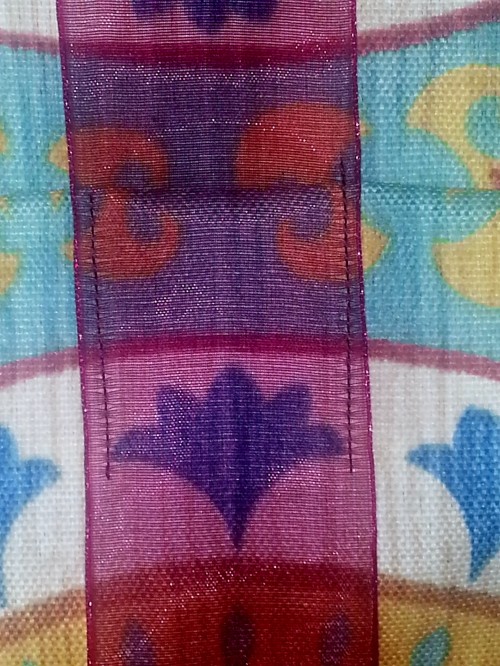
Fold the ribbon over the top of the panel and pin in place 12″ from each side. (Do not press ribbon or over pins.)
Step 5:
Stitch side pleats on the corners only to hold in place. Stitch over the existing seam and 1/4″ from the side corner slightly above and below the fold of the pleats. Repeat on each side.
Step 6:
Stitch ribbon on the top of each pleat fold similar to step five. The organza ribbon is a bit slippery and may move in back as you’re sewing. I will have a panel curtain behind the valance so if only part of the ribbon was stitched in the back it didn’t have to be perfect.
Step 7:
Hang your curtains, tie the ribbons, and cut to your preference!
Step 8:
Stand back and smile! If you decide to make the curtains yourself, please share a photo of your finishing touches with me!
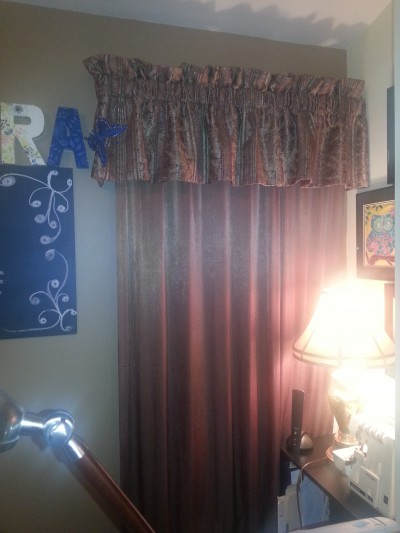
Here’s a look and a before and after photos of my window treatment! The brown was nice, but I love color!
Here are swatch samples of similar pattern textiles, unfortunately, the exact color textile is no longer available at *JoAnn fabric and craft store. Click on the photo if you are interested in these or similar fabrics*.


Click Here for Money Saving Coupons at Joann.com!
Stay tuned there’s more to come from LaCartera!


I love when direction make sense – thanks for sharing great tutuorial
LikeLiked by 1 person
You’re welcome! I always try to write the steps down as I go and take photos.
LikeLiked by 1 person
Beautiful!
LikeLiked by 1 person
Thank you so much! I love walking into the room in the morning now with the pop of color.
LikeLiked by 1 person
Super cute idea! 🙂
LikeLiked by 1 person
Thank you! My kitchen is next…
LikeLike
why do you need the pleats?
LikeLiked by 1 person
The pleats give you the illusion of a Roman shade or stagecoach curtain in the up position. But this is only the length of a valance.
LikeLike